![]()
![]()
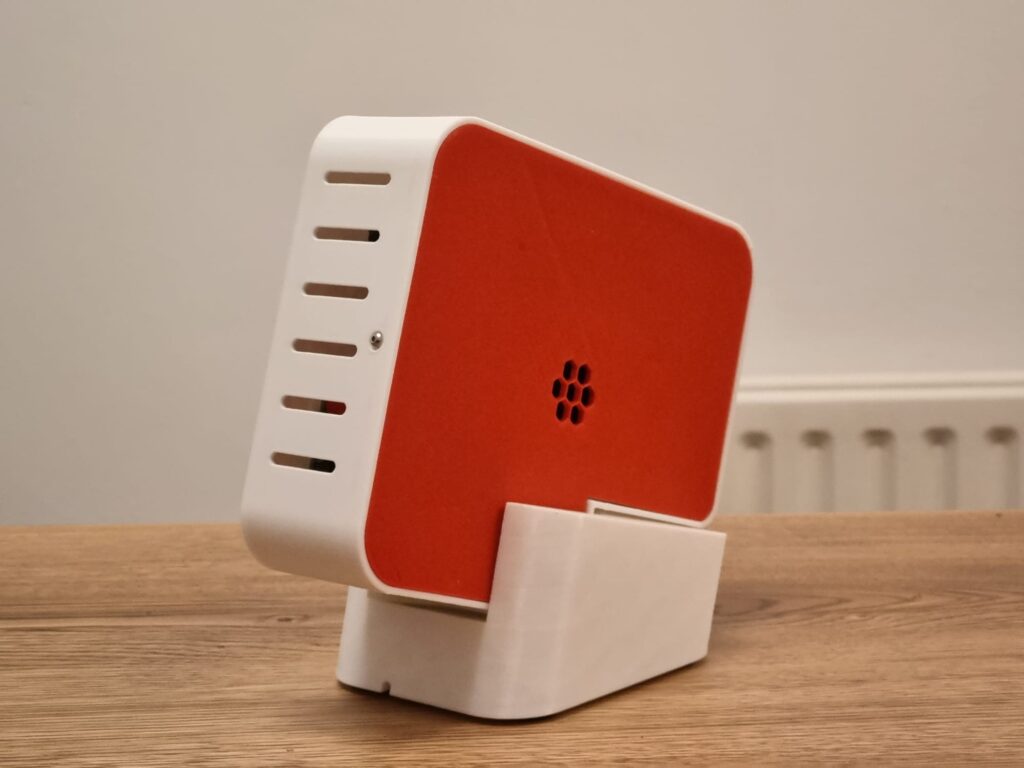
Raspberry Pi Storage Server/NAS with space for 2 x 2.5′ drives
Backups are important but if you’re like me, they often get forgotten about. After some research, I decided to use setup a Raspberry Pi based NAS at a family members house and use TailScale to transfer files via a scheduled rsync job so I can forget about backups 😁
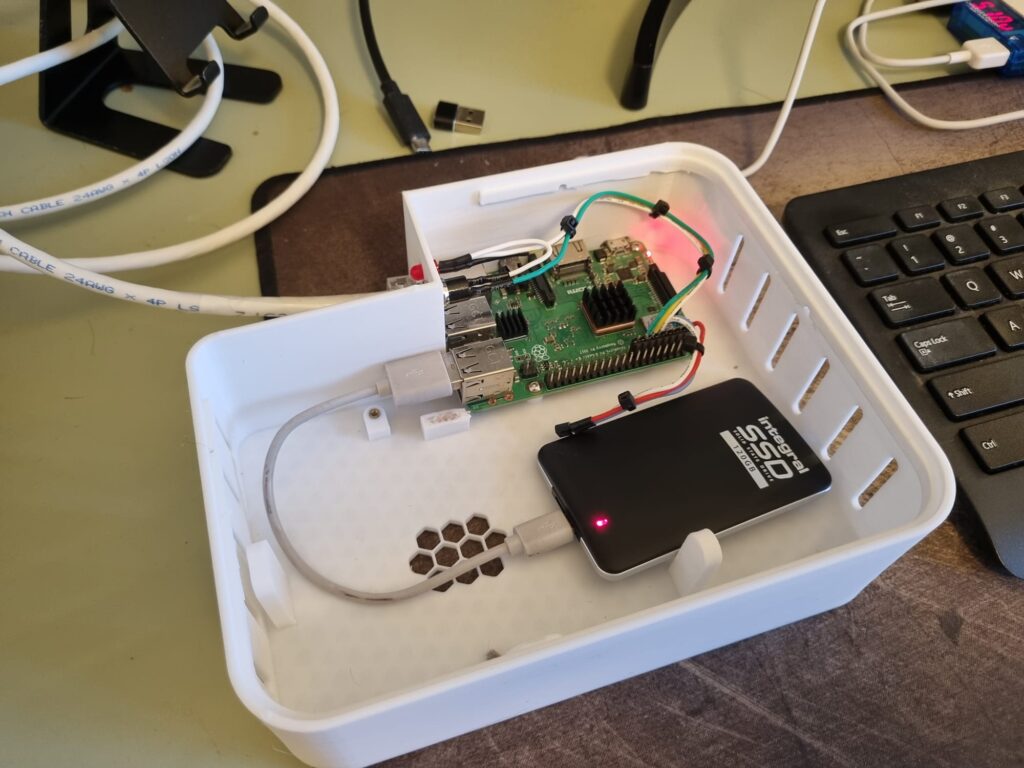
I decided to use an old Raspberry Pi 3b+ with a 120gb SSD to boot Raspberry Pi OS and a 5tb Western Digital as the bulk storage drive. This solution works nicely because everything can be powered from a single 5v power adapter.
This enclosure on Thingiverse caught my eye but it isn’t very tall so I decided to remix it in case I ever want to stack a second 2.5′ HDD on top of the first drive within the enclosure.
You’re going to need a few parts for this project
- Raspberry Pi 3B/3B+/4B
- Official Raspberry Pi Power supply (Amazon US, UK, DE)
- Western Digital 5tb portable external hard drive (Amazon – US, UK, DE)
- Small SSD for the Pi’s OS (Amazon – US, UK, DE)
- DS18B20 Temperature Sensor (Amazon – US, DE)
- 30mm PWM controlled fan (Amazon – US, UK, DE)
- Tristam’s toolbox essentials
You can find the .stl’s on Printables here.
Build/installation guide
Step 1 – Print the base of the case and install 6 x M2.5 brass inserts – 4 to mount the Pi and 2 to retain the Hard drive.
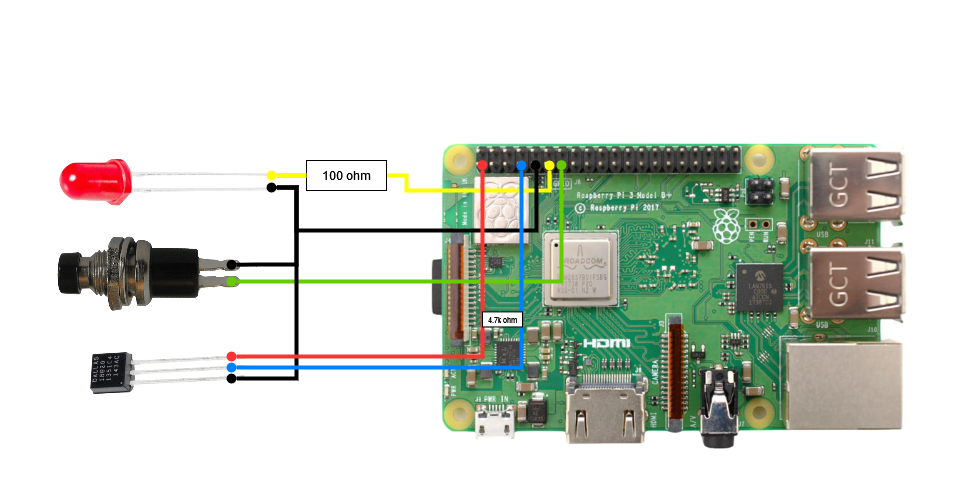
Step 2 – Time to break out the soldering iron! This is optional but it can be very handy for headless systems. There is space above the Pi’s IO for a power button and indicator LED. I also added a DS18B20 temperature sensor to track the air temperature inside the case but you can read about in my article about Monitoring a Raspberry Pi with Python, InfluxDB and Grafana. Here is the wiring diagram for the button, LED and temperature sensor.
Step 3 – Once the main part of the case has been printed, you can print the lid, hard drive retention bracket and a 30mm fan bracket (if you don’t have a fancier cooler) out of red filament. Hopefully your soldering iron is still warm because you’ll need it to install three brass inserts into the case lid so it can be screwed on as shown below.
Step 4 – final assembly! Apologies for the lack of detailed pictures, this project was done whenever I had a gap over the Christmas holidays. Using the hard drive retention bracket, secure the hard drive into the case and use M2.5 screws to attach the Pi to the case. I let the SSD flap around in the breeze because it is less likely to get damaged from movement.
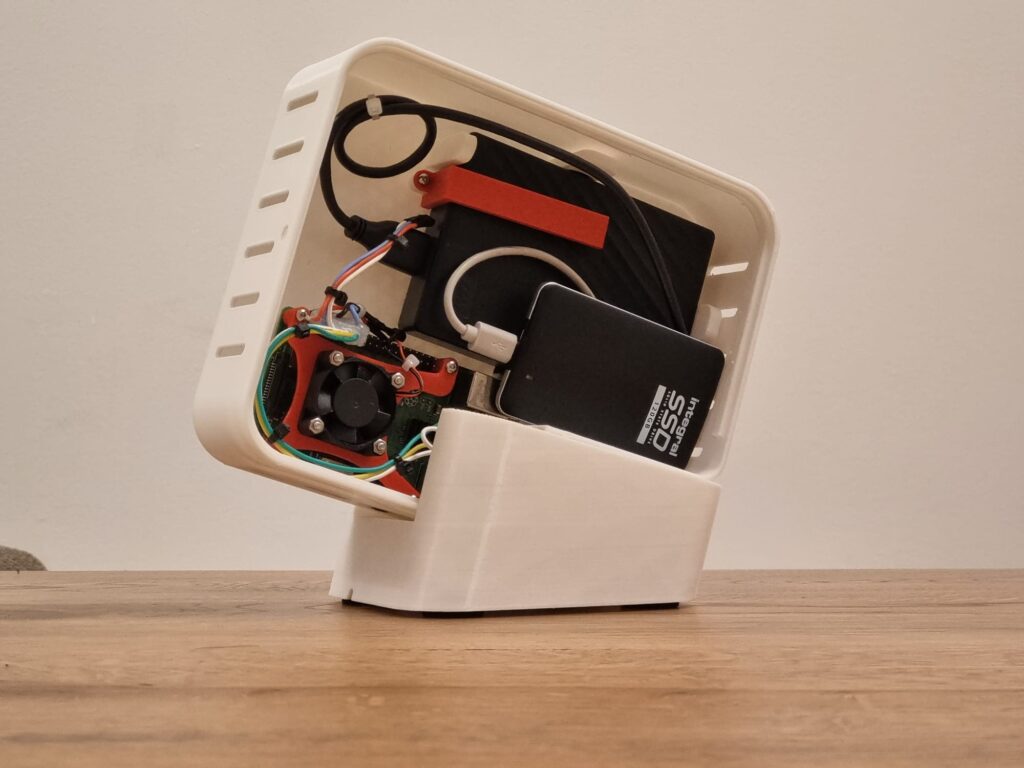
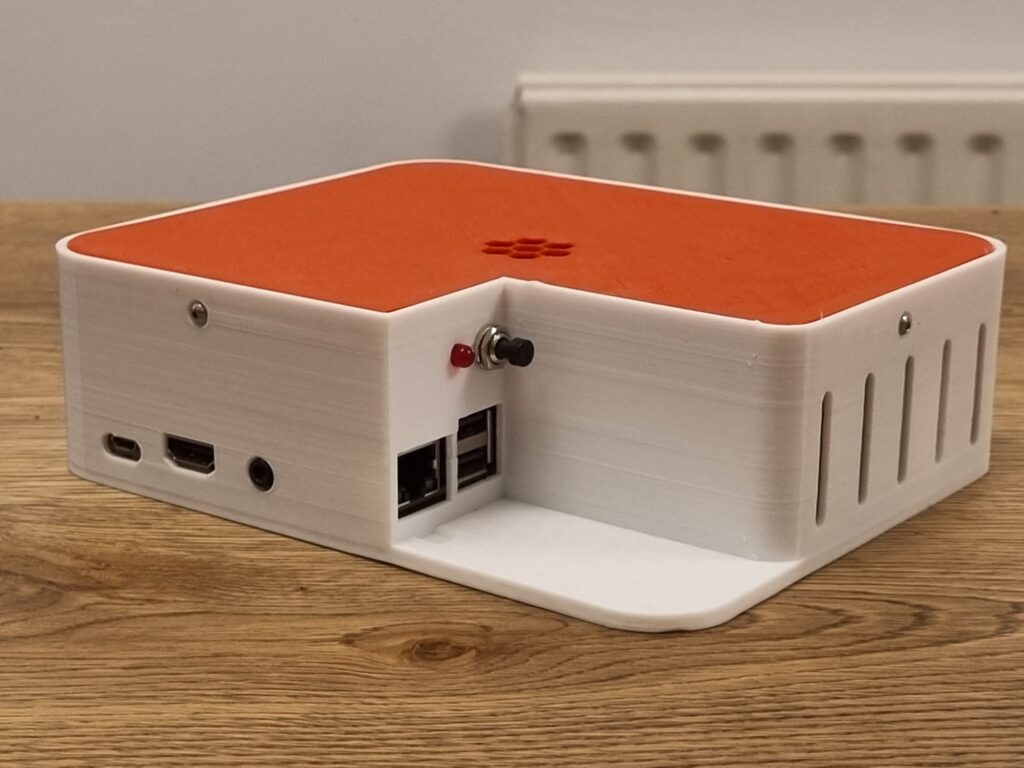
That’s it! The case can either be mounted vertically (using the stand) or horizontally (without the stand). Hopefully this was a gentle reminder to check your backups and enable alerting for failed/full disks. Check back over the next while and I’ll show you how to setup the software side of things.
*The product links in this post may contain affiliate links. Any commission earned is used to keep the servers running and the gin cool.
Thanks for making it to the end of the post!