![]()
![]()
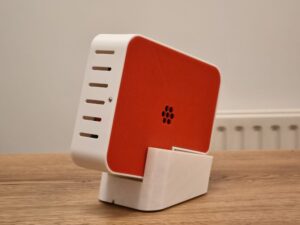
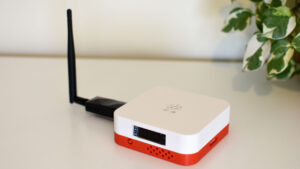
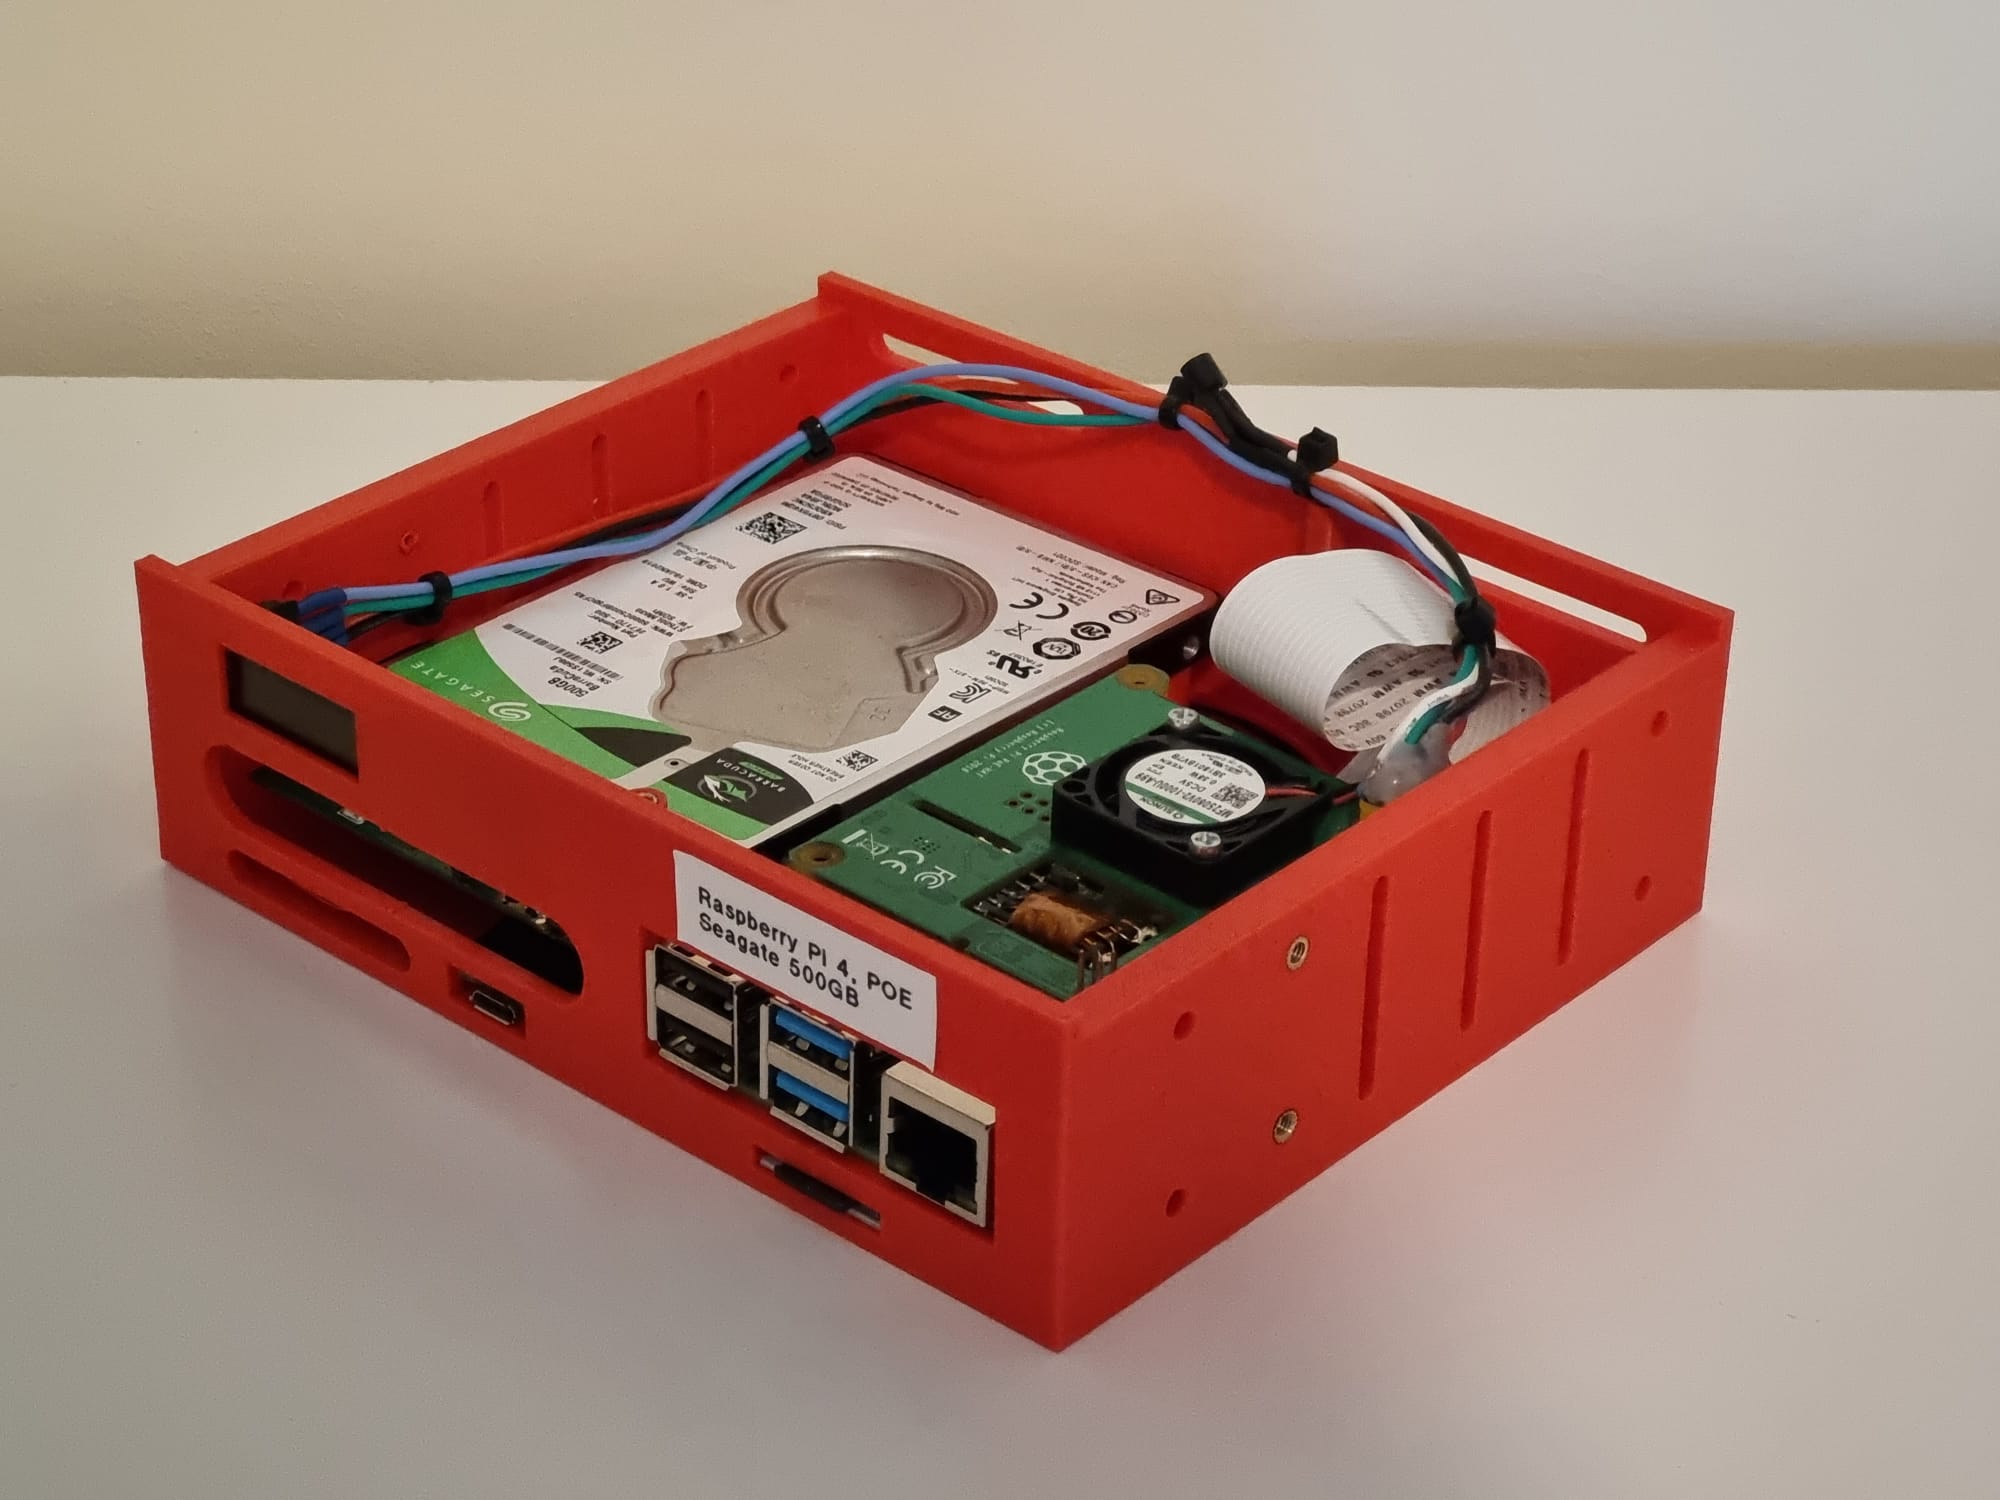
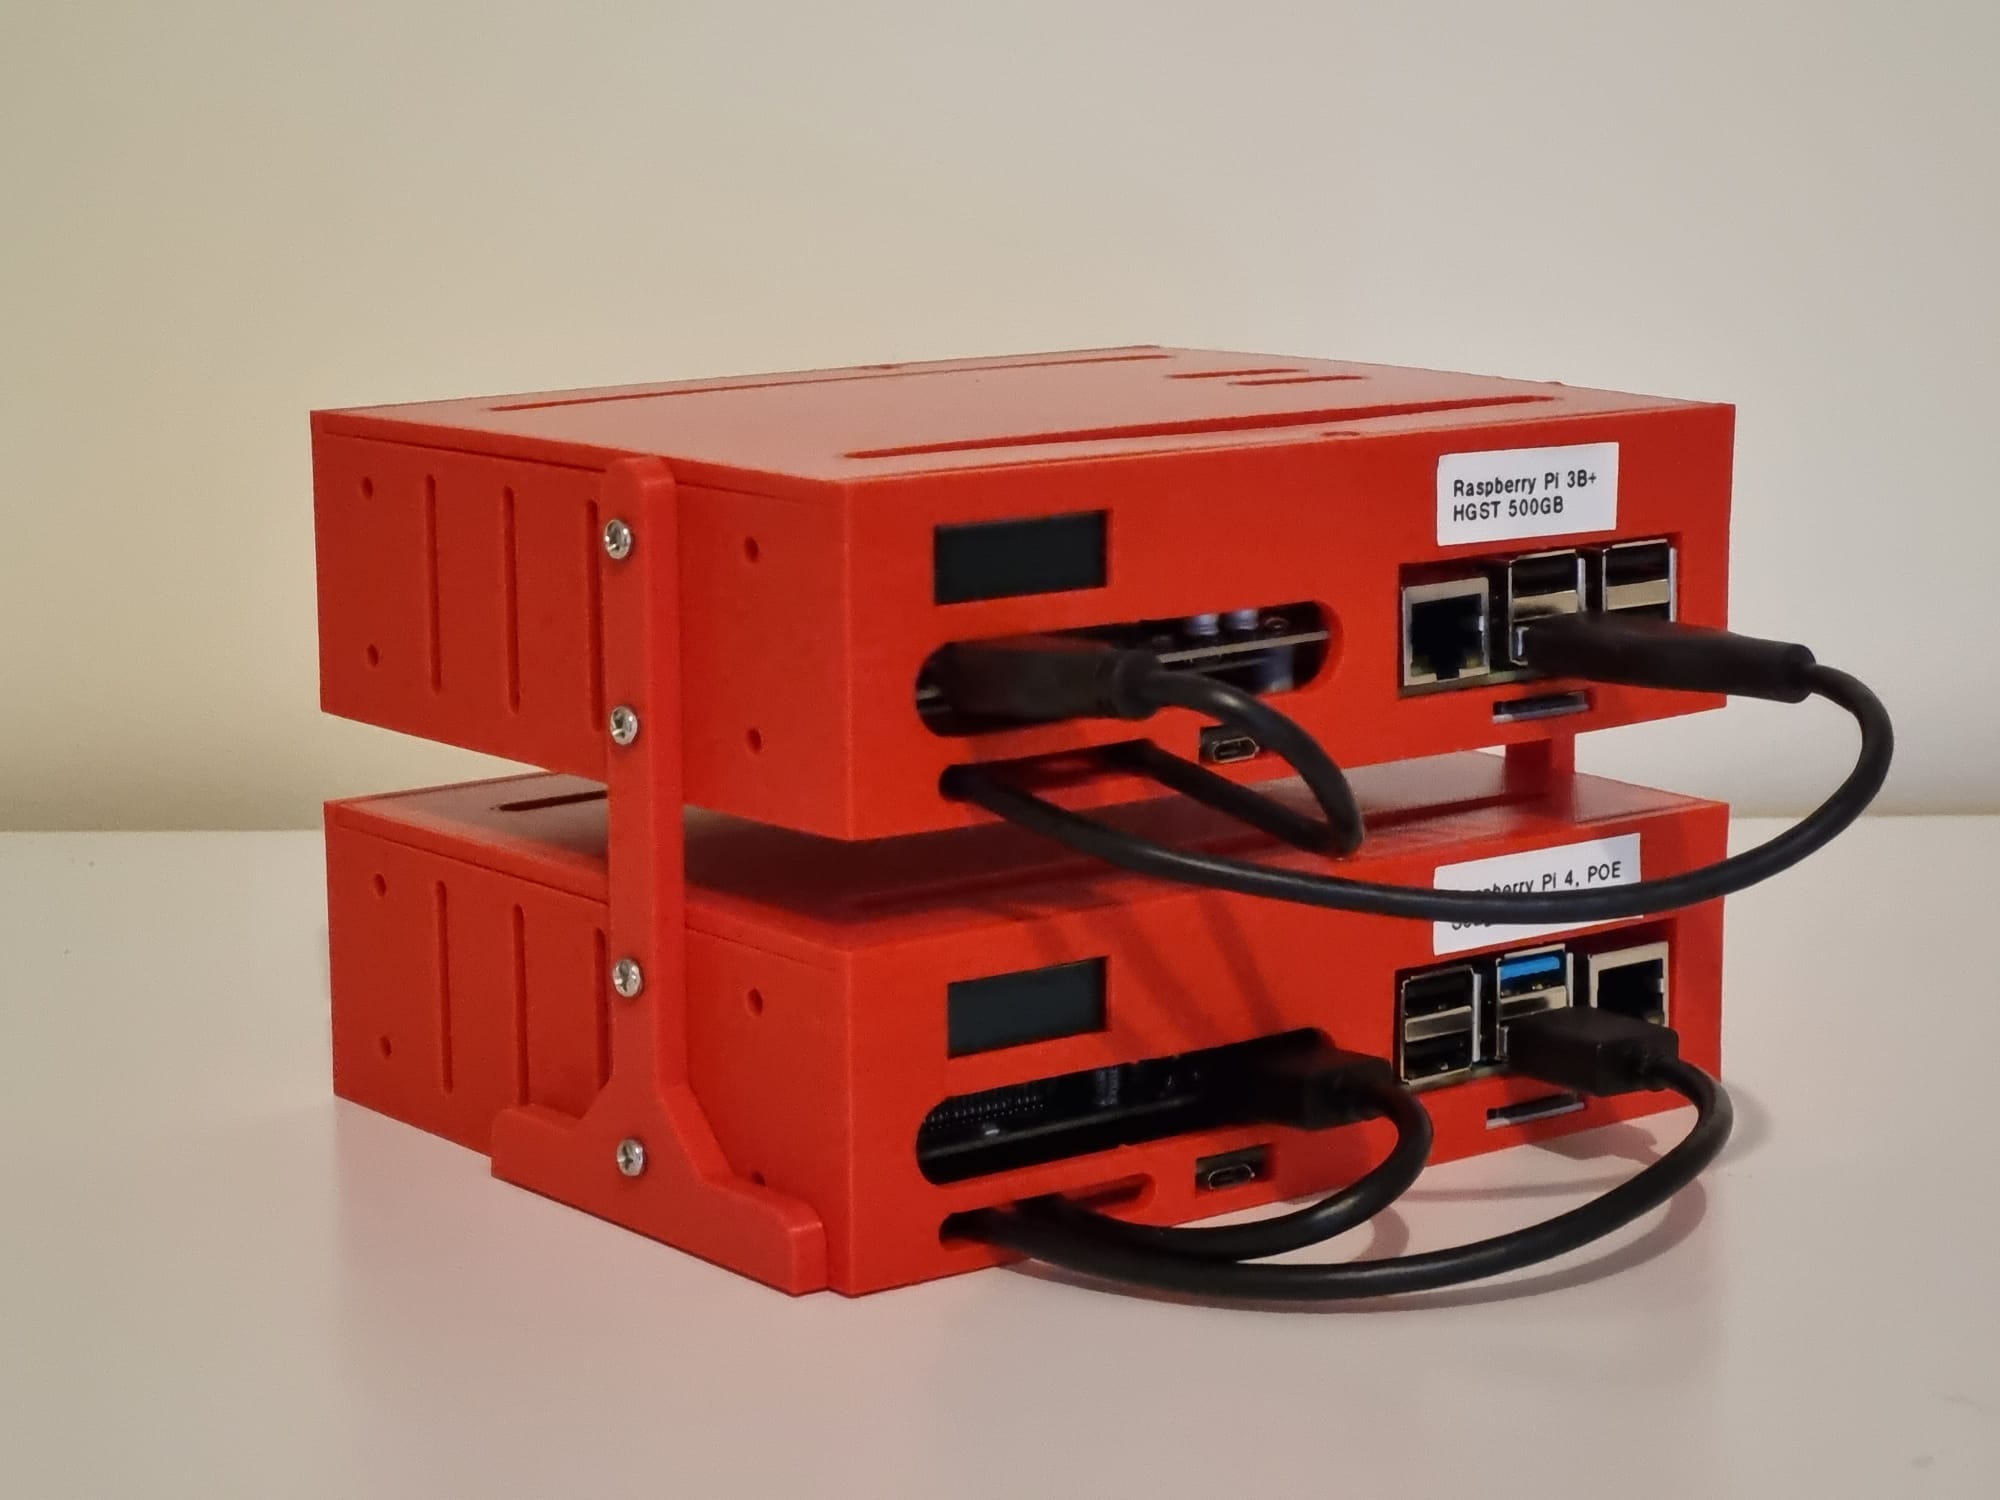
1u stackable Raspberry Pi enclosure
This is designed to be a 1u enclosure for a Raspberry Pi 3/3B+/4 and a 2.5′ HDD or SSD.
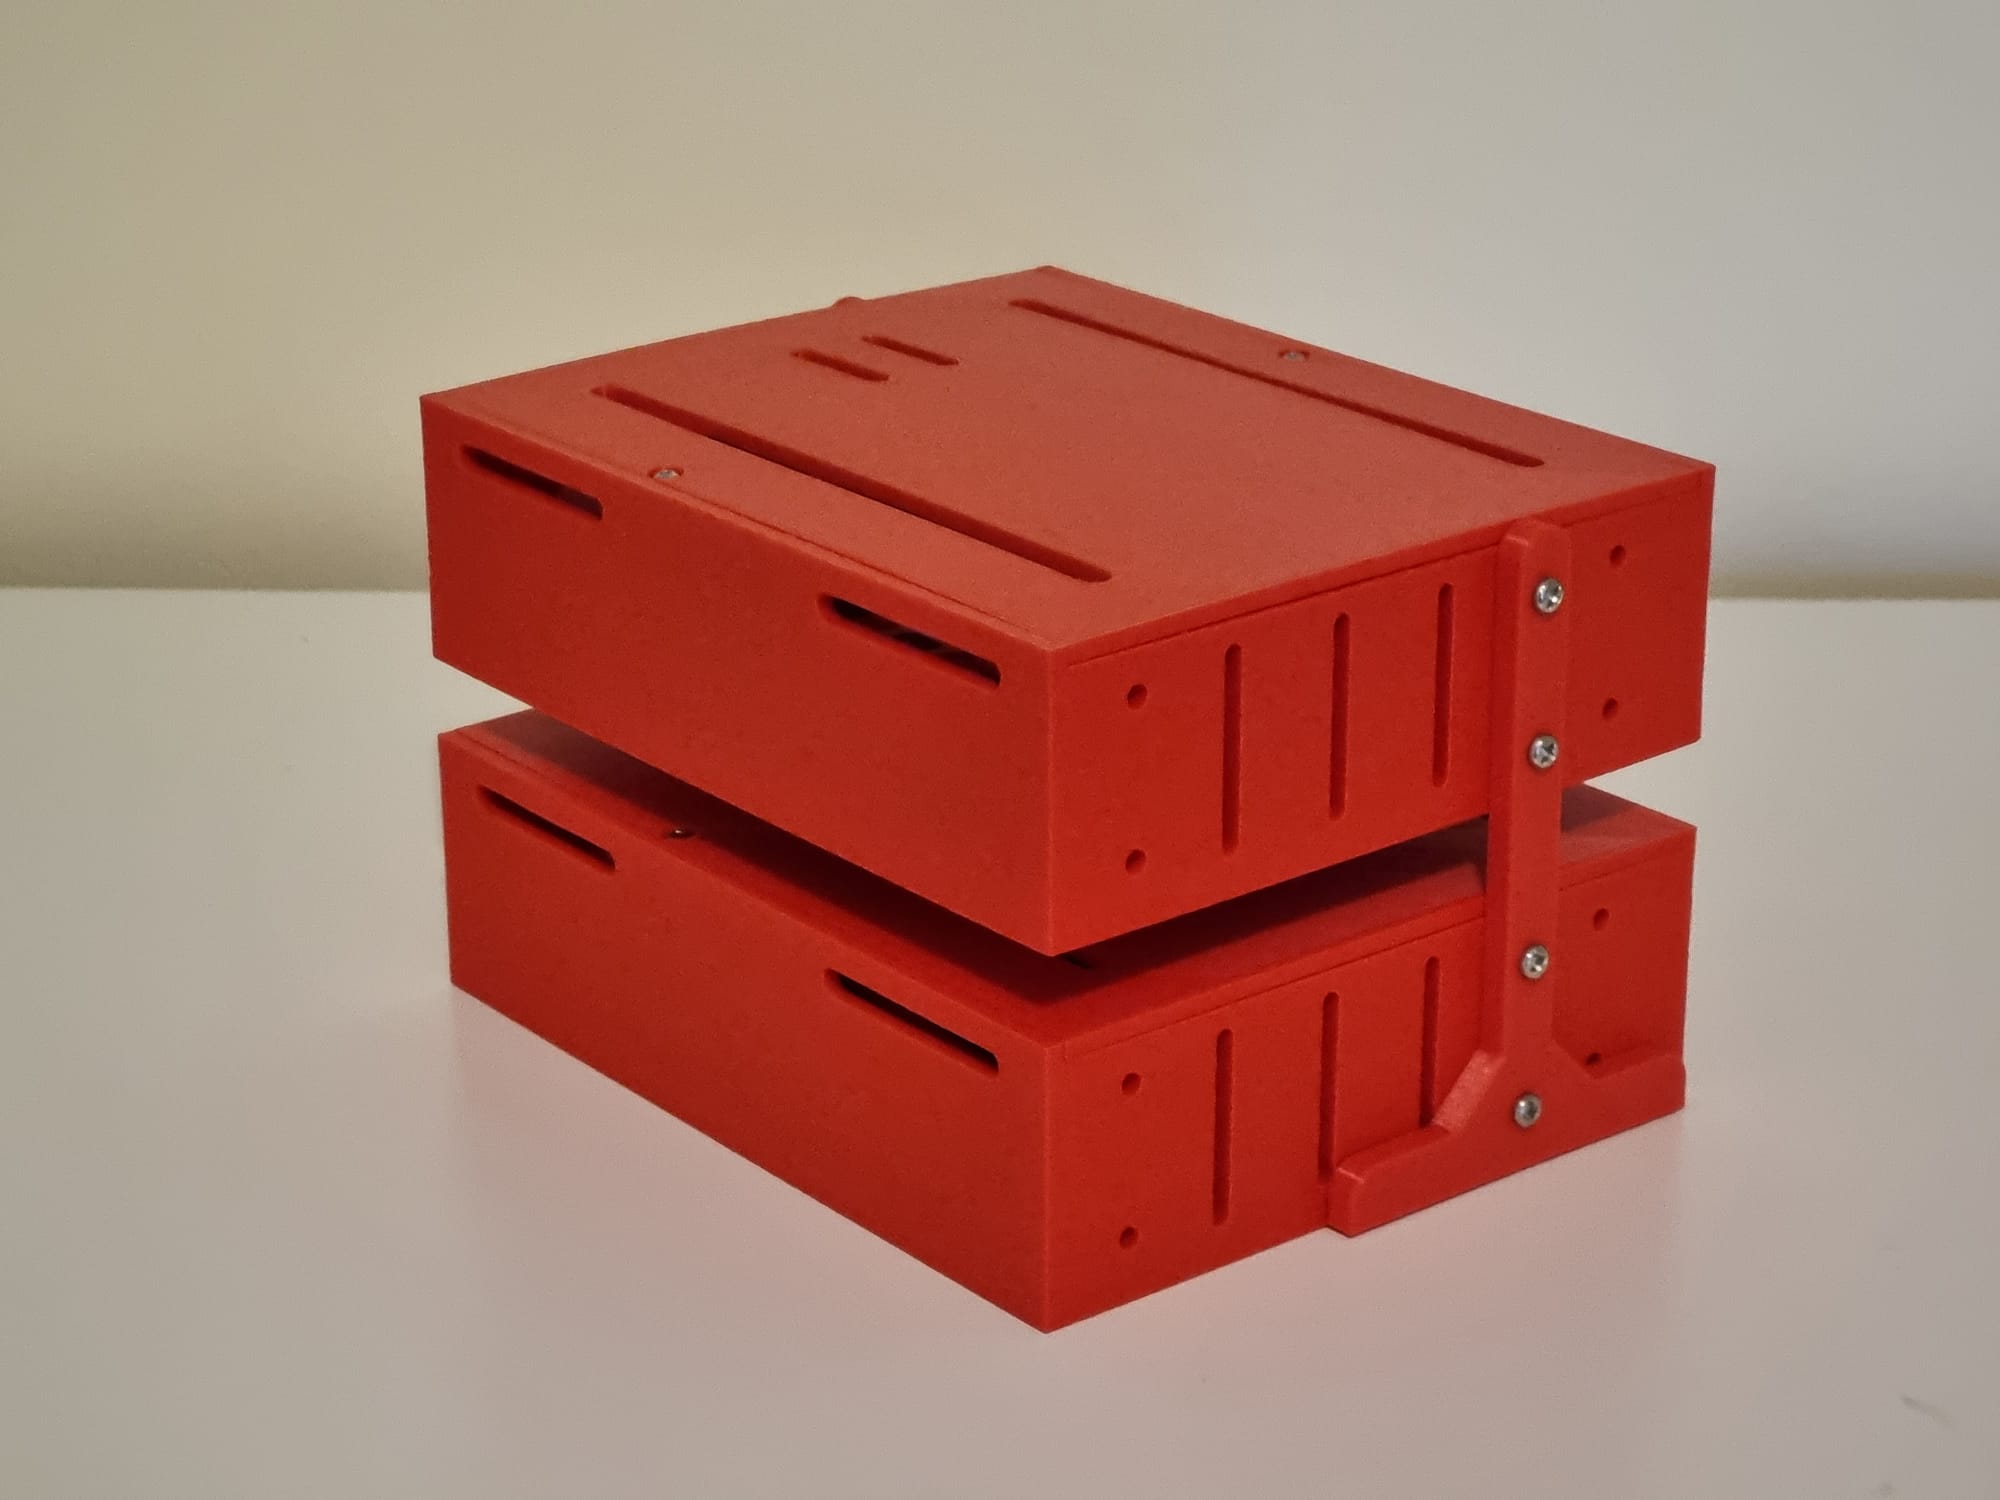
Included are brackets to stack two enclosures and arms to mount two in 1u of a standard 19′ rack. The rack arms are designed to offset the Pi’s by 5mm into the rack so there is more room for cable management. I don’t have a 19′ rack (yet) so I haven’t been able to test the rack arms.
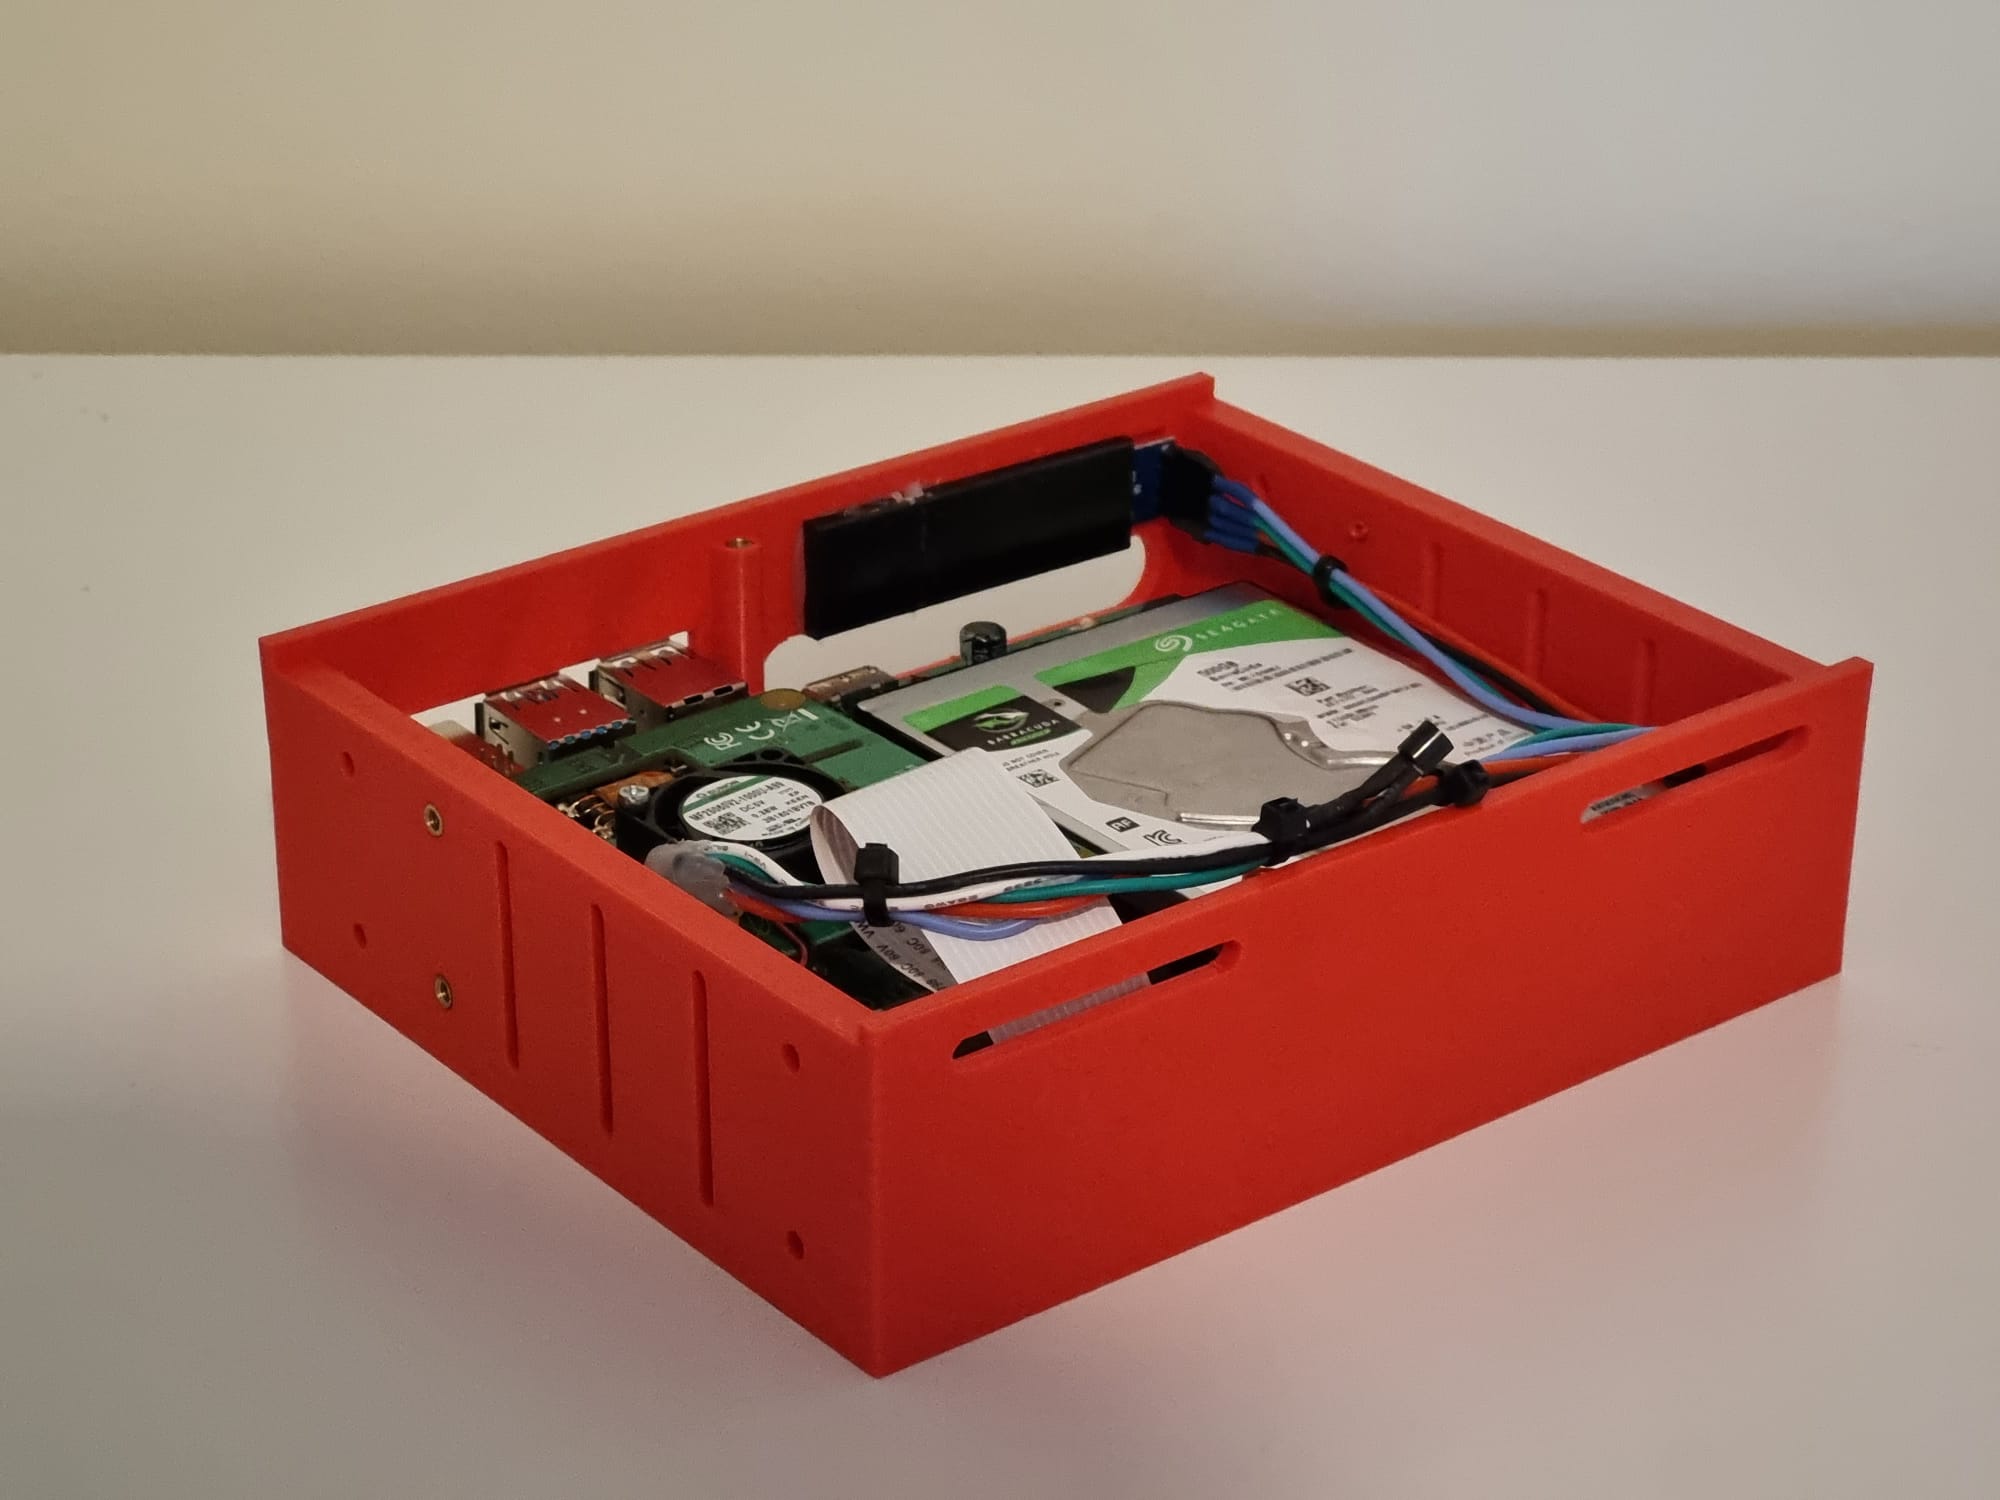
The vertical support in the pi and HDD opening is designed to prevent sagging during printing and must be cut out before anything is installed.
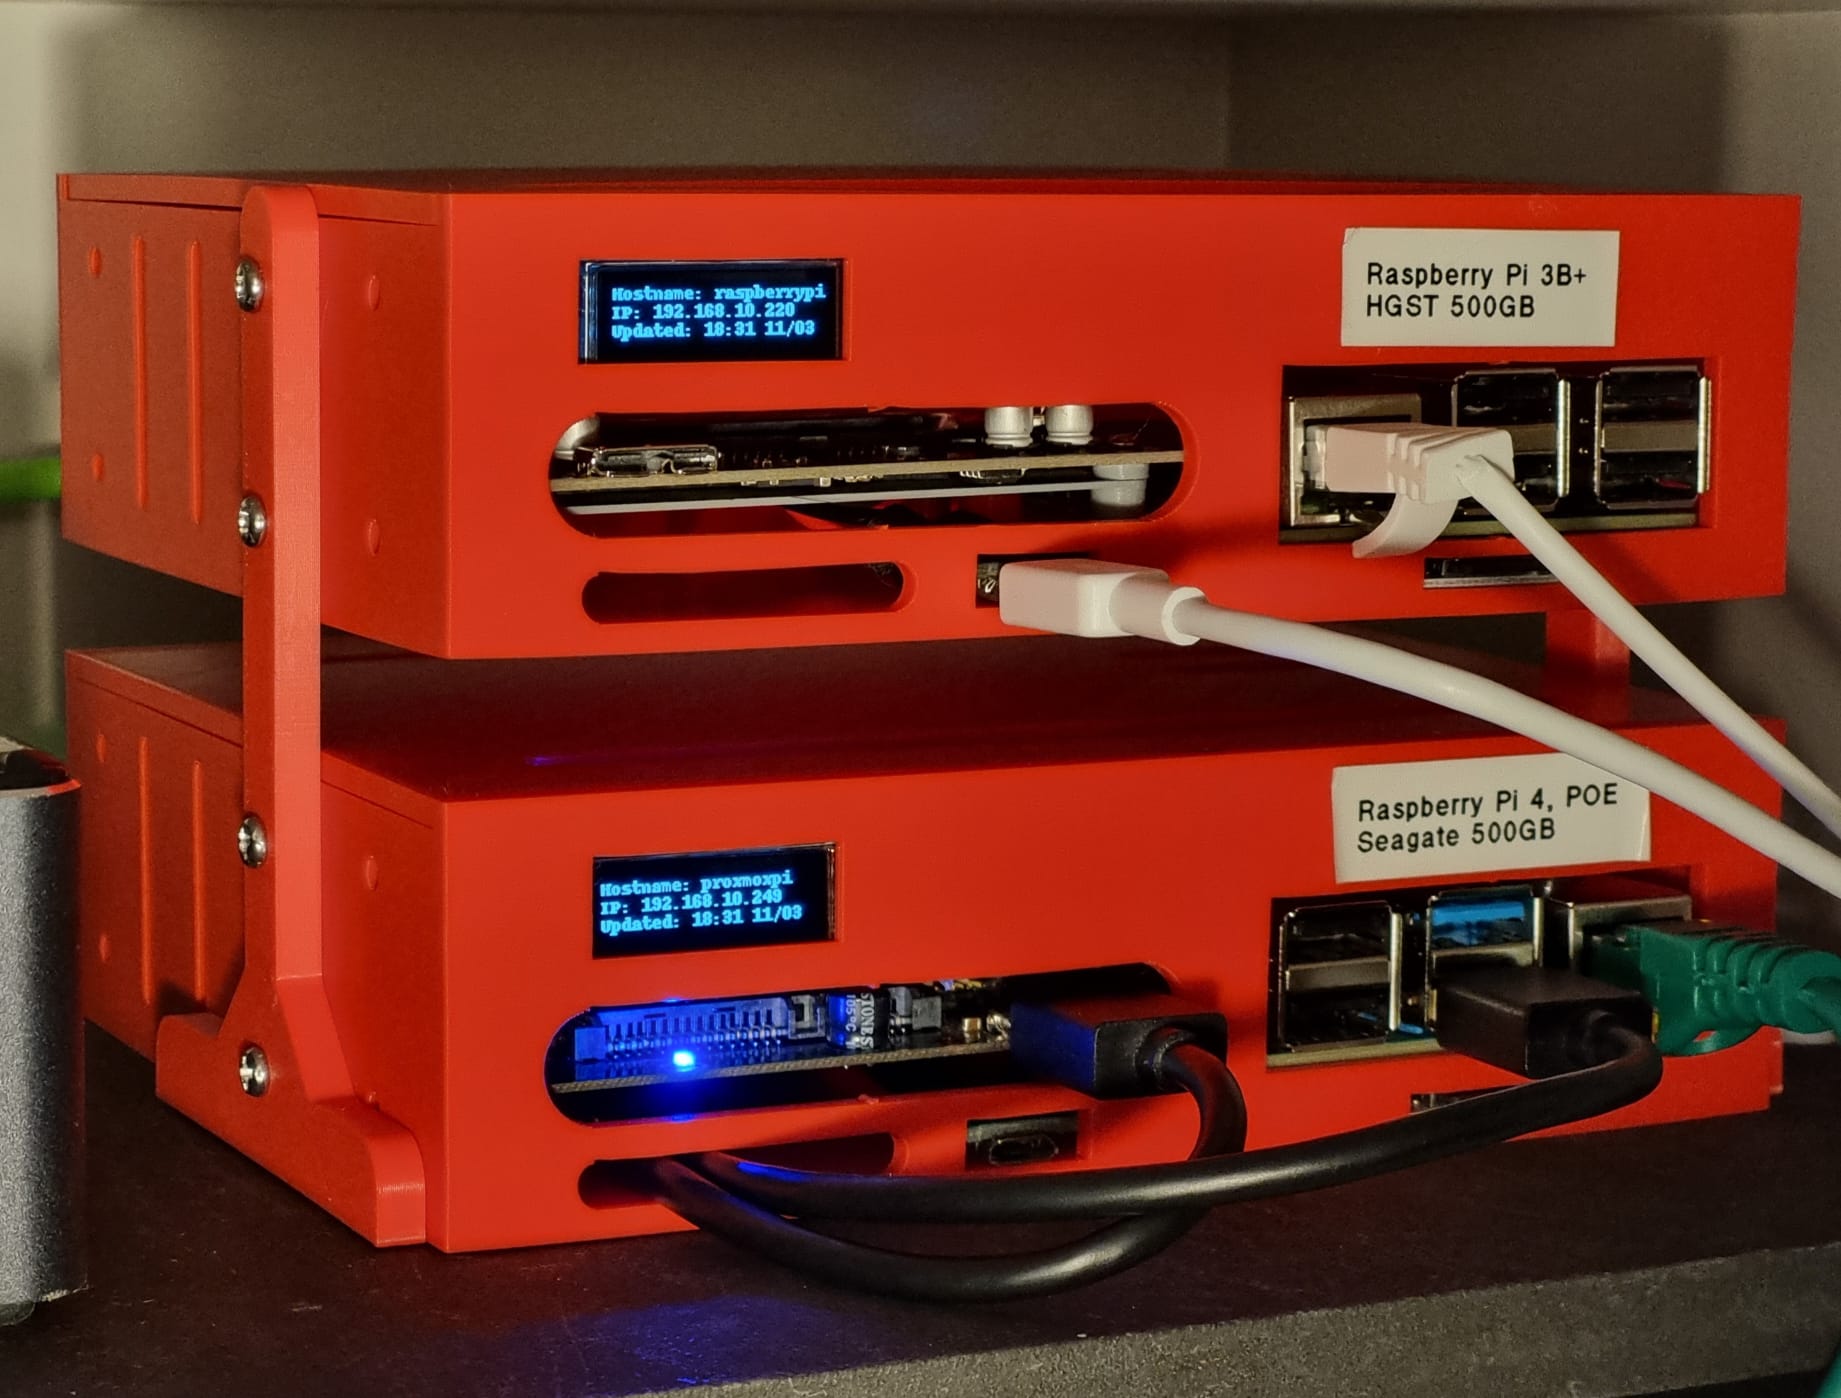
The enclosure includes a standard 0.92′ oled display that you can display metrics on. Here’s a link to the script I wrote to display the devices IP address and hostname.
P.S. I’ll post an update with schematics to include a DS18B20 temperature sensor in the wiring harness to connect the oled display to the pi. Have a look at this article that I wrote that includes a python script that sends data to InfluxdDB.
Parts
- Raspberry Pi 3B/3B+/4B
- POE HAT (optional)
- 2.5′ SSD/HDD with USB to SATA adapter (Amazon – US, DE)
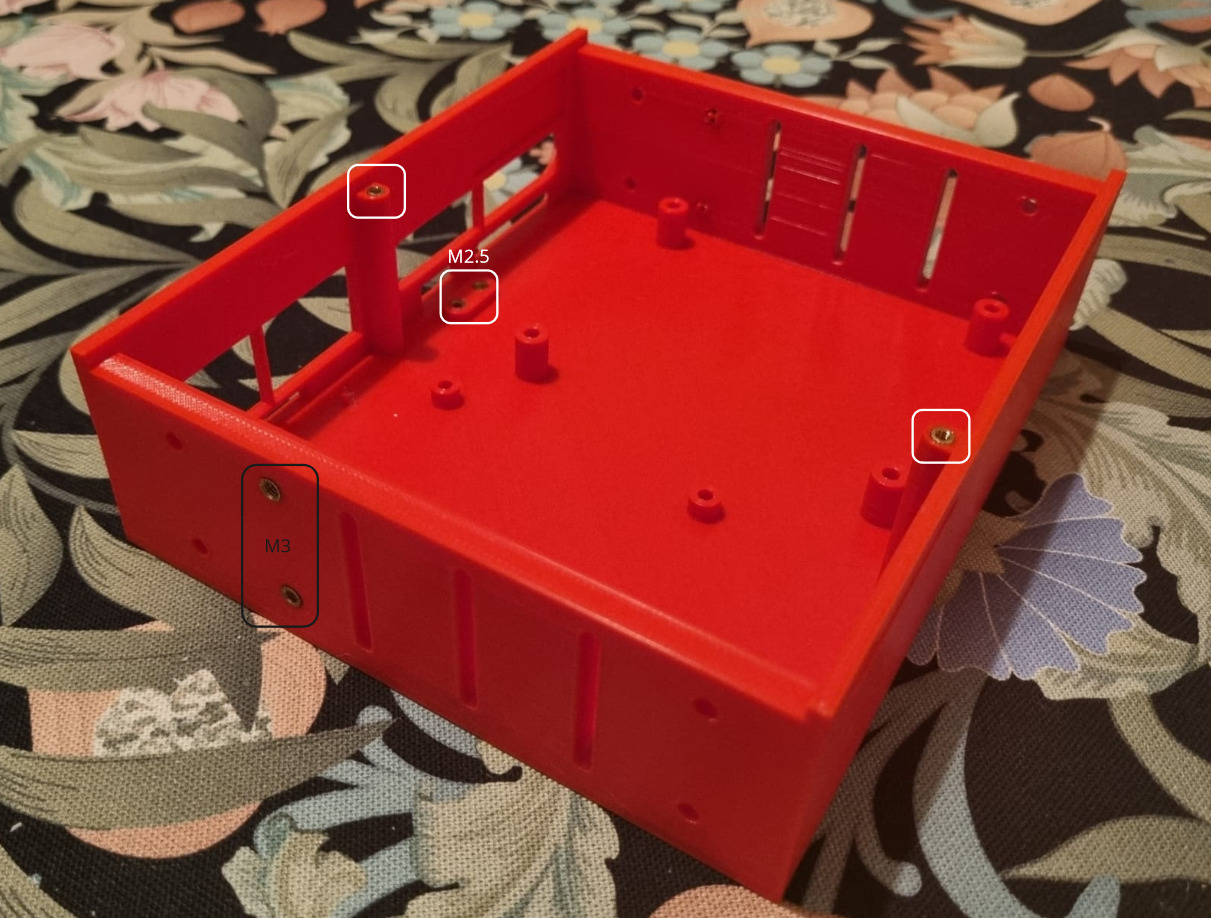
- M2.5 and M3 brass inserts (Amazon – US, DE)
- M2.5 and M3 screws and nuts (Amazon – US, DE)
- Female Micro USB PCB connector to pass through power (Amazon – US, DE)
- Micro USB male
- Micro SD Flexible Extension Cable (Aliexpress)
- 0.91′ OLED display (Amazon – US, DE)
- DS18B20 Temperature Sensor (Amazon – US, DE)
You can find the .stl’s here.
Print settings
- Printer: Creality Ender 3v2 Neo
- Filament: I used Red Creality PLA filament but I’d recommend eSUN PLA+ instead (Amazon – US, DE)
- Bed temperature: 70’c (initial layer) then 60’c for the rest of the print
- Nozzle temperature: 205’c
- Infill: 20%
Build/installation guide
Step 1 – Use a soldering iron to insert the brass insert nuts. I used a combination of M2.5 and M3.
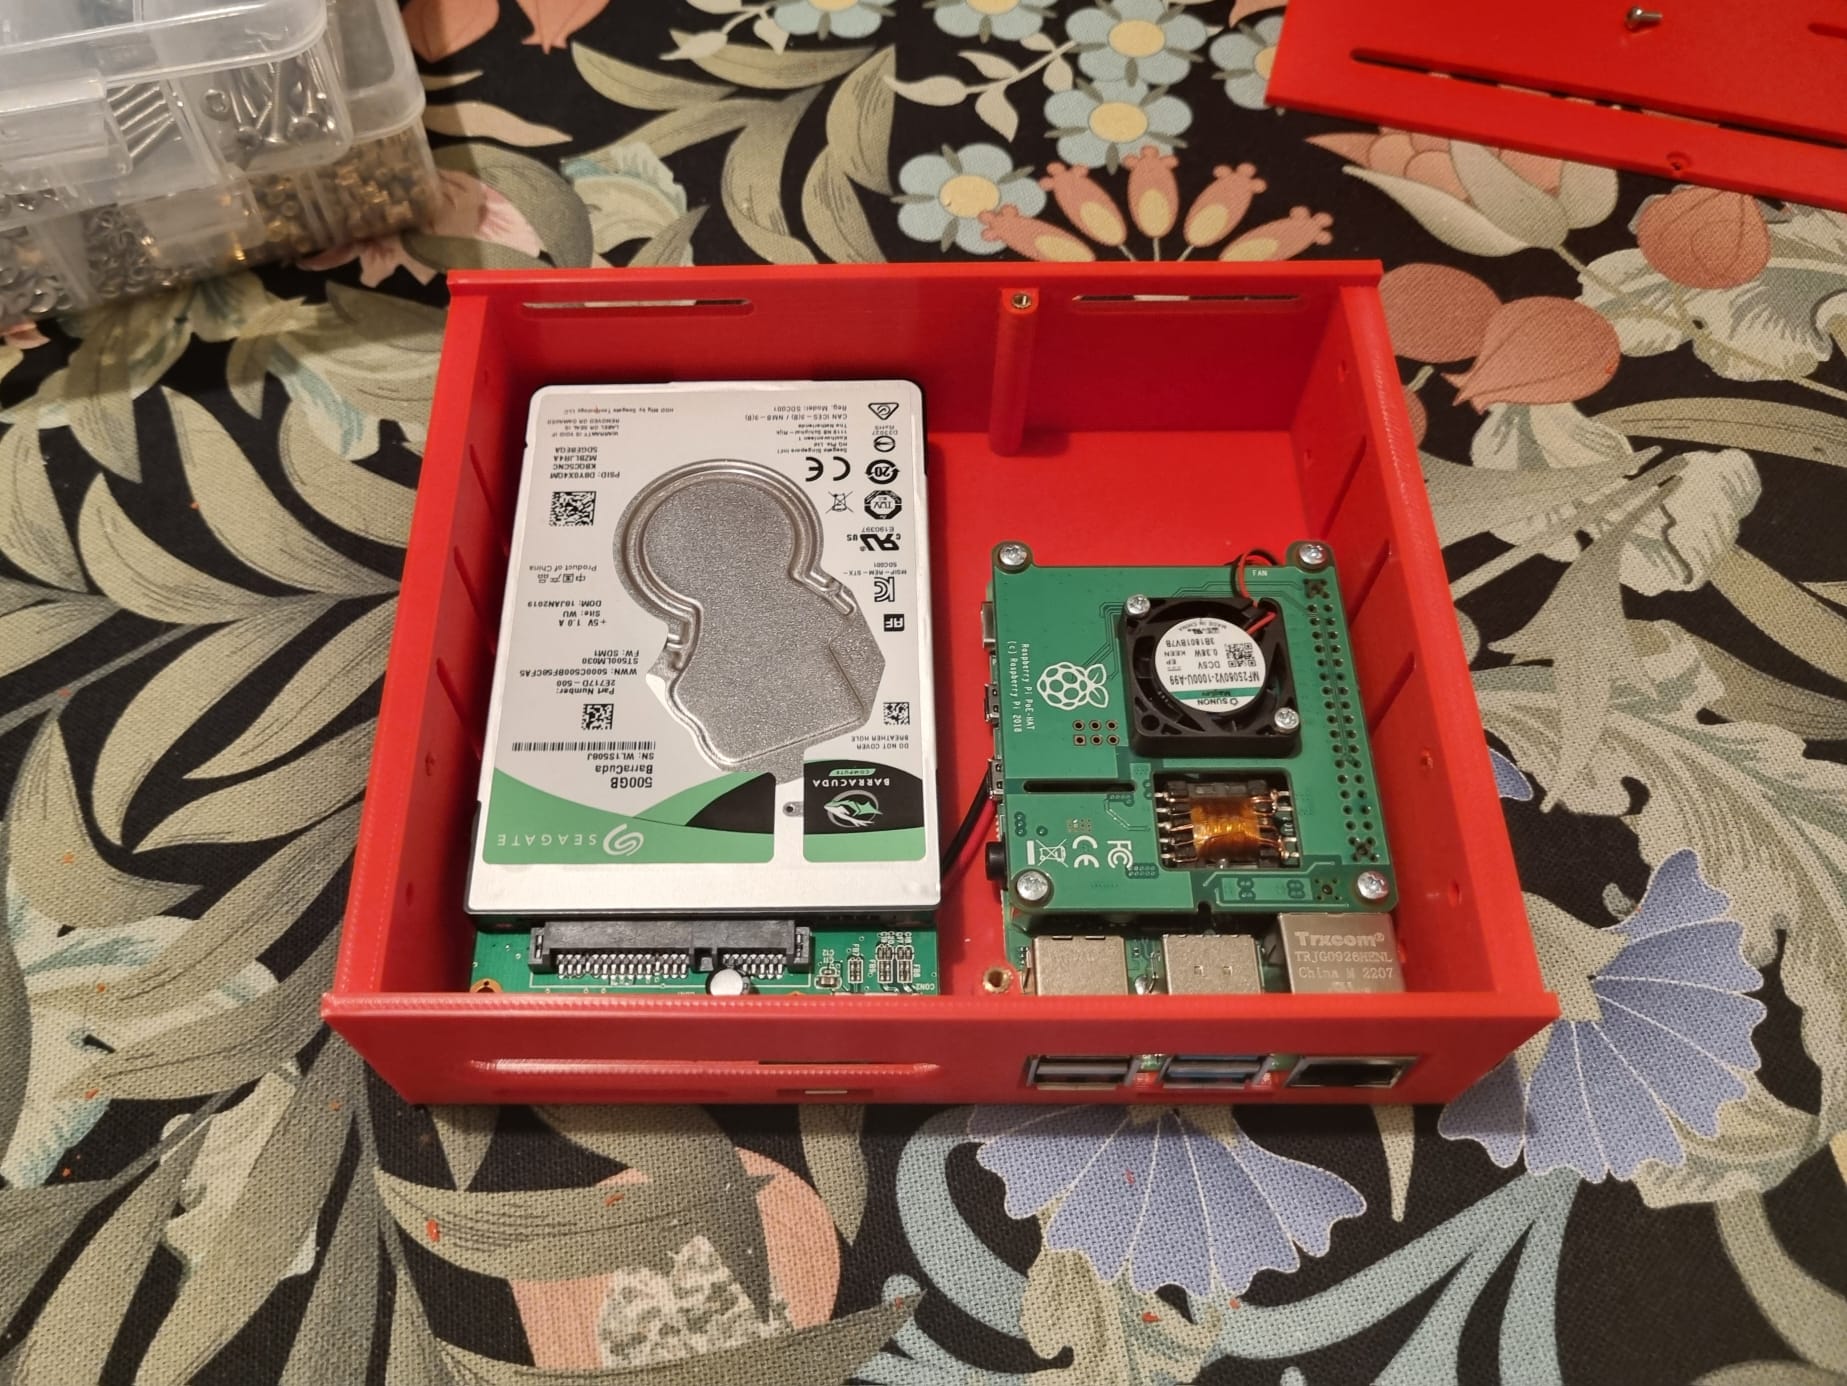
Step 2 – Cut off the vertical supports in the Pi and SSD/HDD openings and install the Micro USB port (upside down) with power cable for the Pi.

Step 3 – Install the Pi and HDD/SSD
Step 4 – Glue in the oled display and connect it to the Pi (with the temperature sensor)
Step 5 – Screw on the lid and attach the side posts
And you’re done!
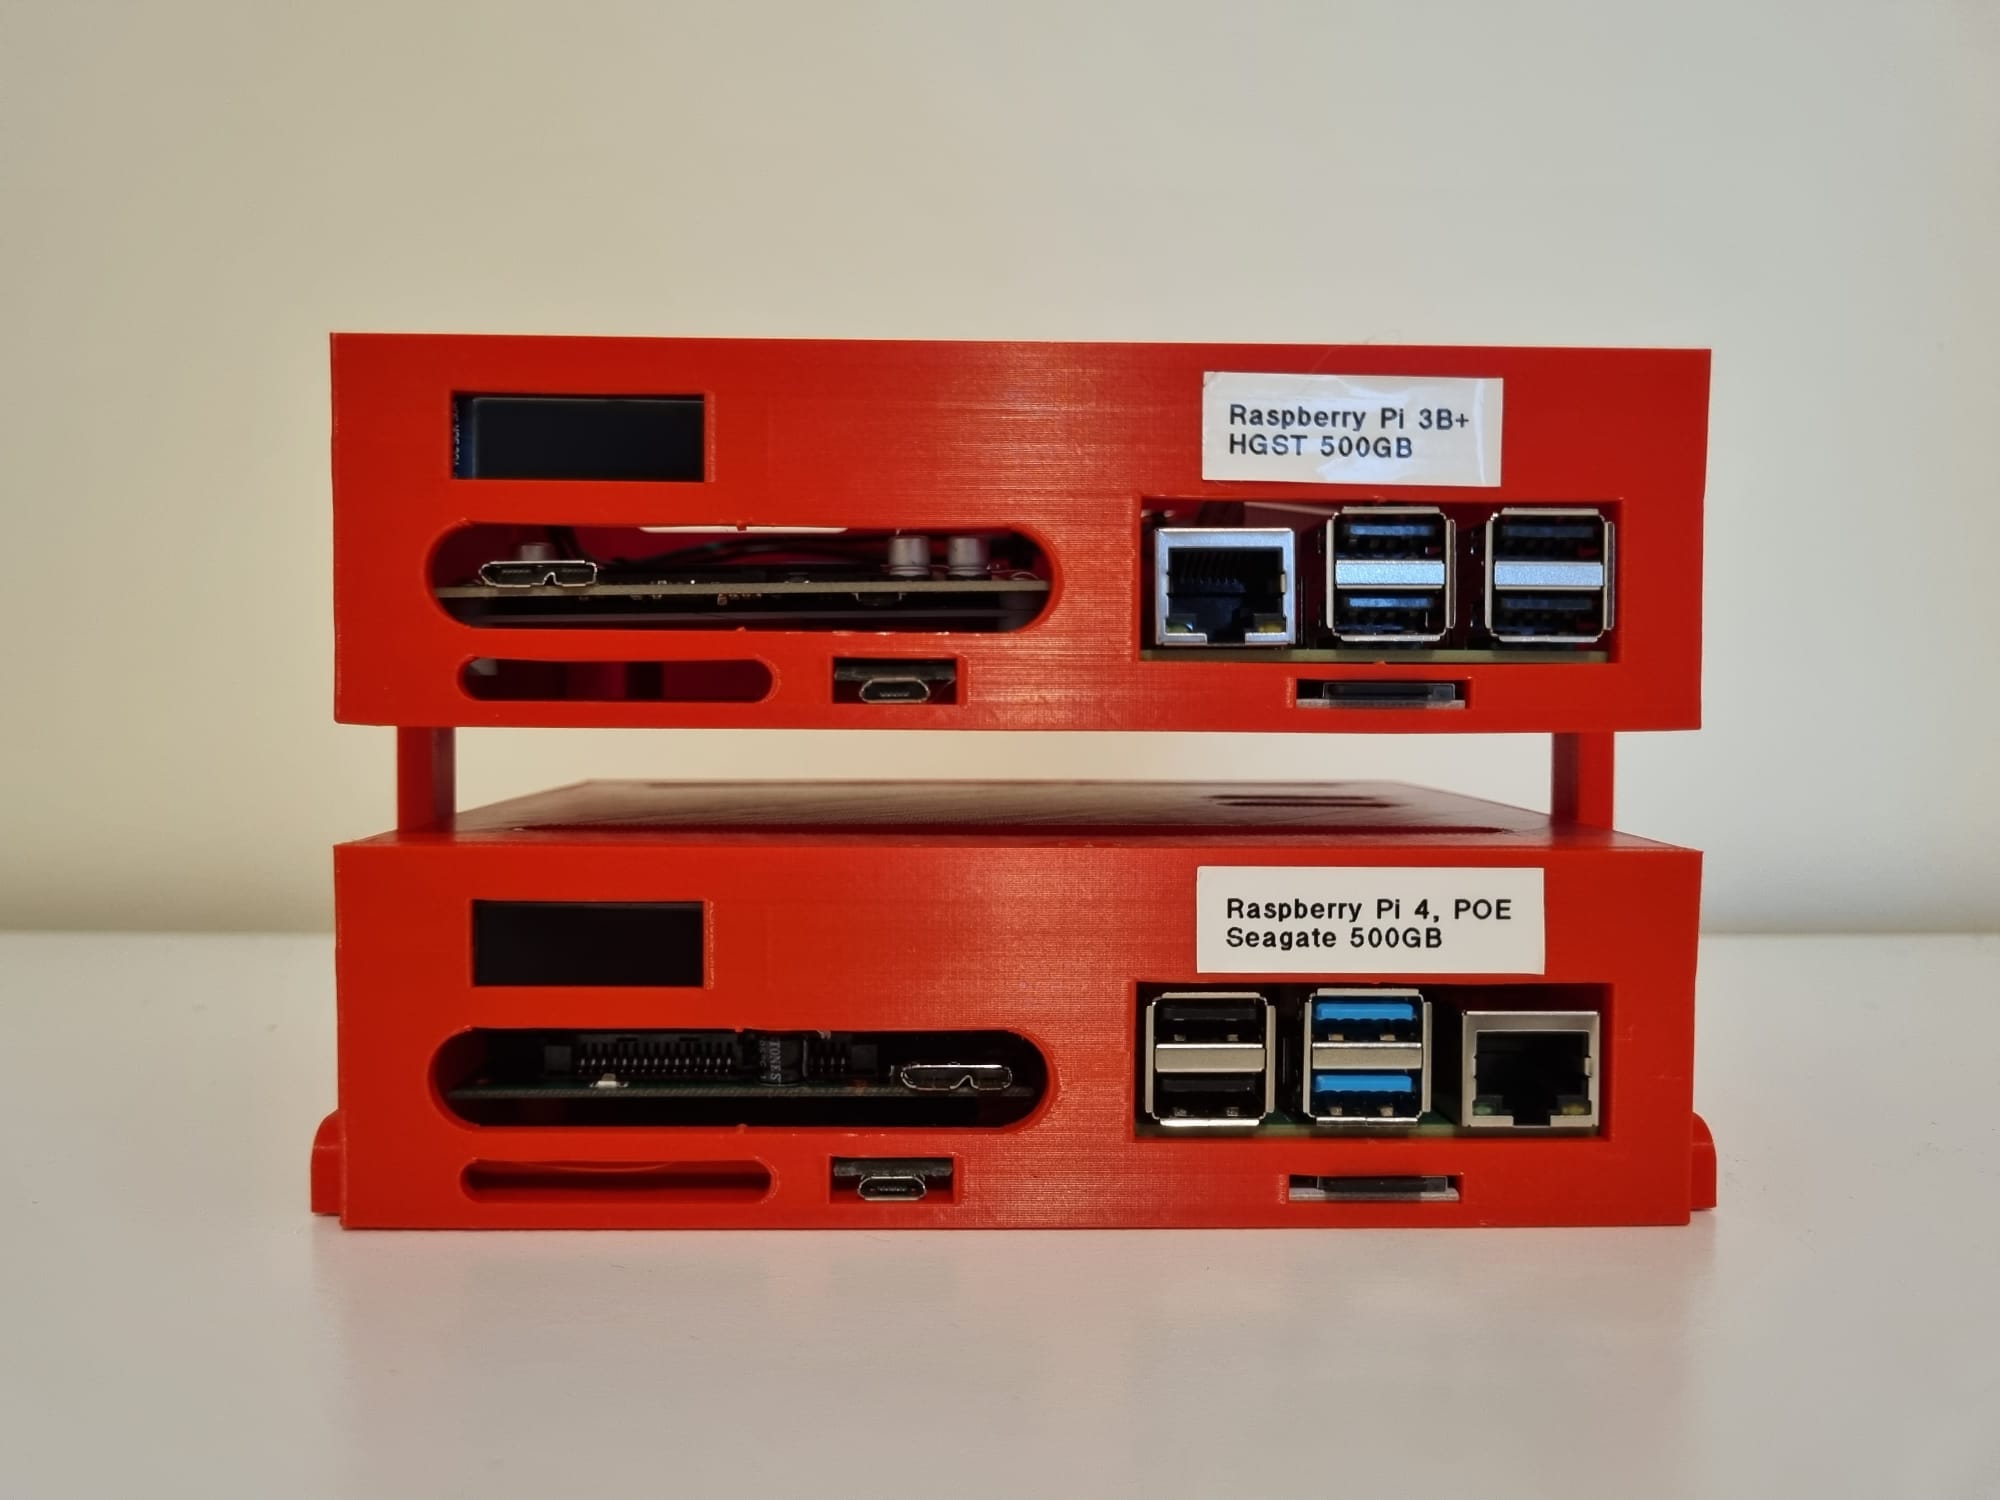
Last but not least, the money shot!
Watch this being printed
*The product links in this post may contain affiliate links. Any commission earned is used to keep the servers running and the gin cool.
Thanks for making it to the end of the post!