![]()
![]()
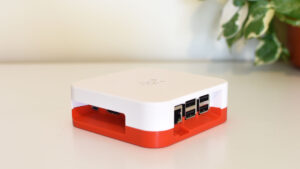
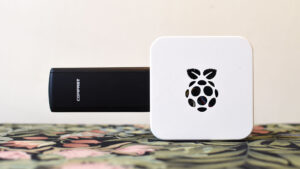
Adding an OLED display to an OpenWrt router
Let's use an ESP8266 to add a 0.91' OLED display to my Raspberry Pi based travel router that runs OpenWrt.
The Problem
As part of this project, I wanted to add a 0.91′ oled display to a Raspberry Pi that’s running OpenWrt. Unfortunately the Adafruit SSD1306 python library requires the RPi.GPIO library which doesn’t work with OpenWrt so we need to get creative!
This approach uses an ESP8266 (or pretty much any other microcontroller that has a serial and i2c interface) to receive data from the Pi via serial and then send that to the display via i2c. The upside of this approach is that it should work with any device that is running OpenWrt and has a serial interface
Parts
- An OpenWrt router that has a serial interface
- ESP8266 microcontroller (Amazon – US, DE)
- 0.91′ OLED display (Amazon – US, DE)
- PCB headers (Amazon – US, DE)
- Jumper wire – I’ve been impressed with this 24/26 AWG silicone wire (Amazon – US, DE)
- Heat shrink tubing (Amazon – US, DE)
How it works
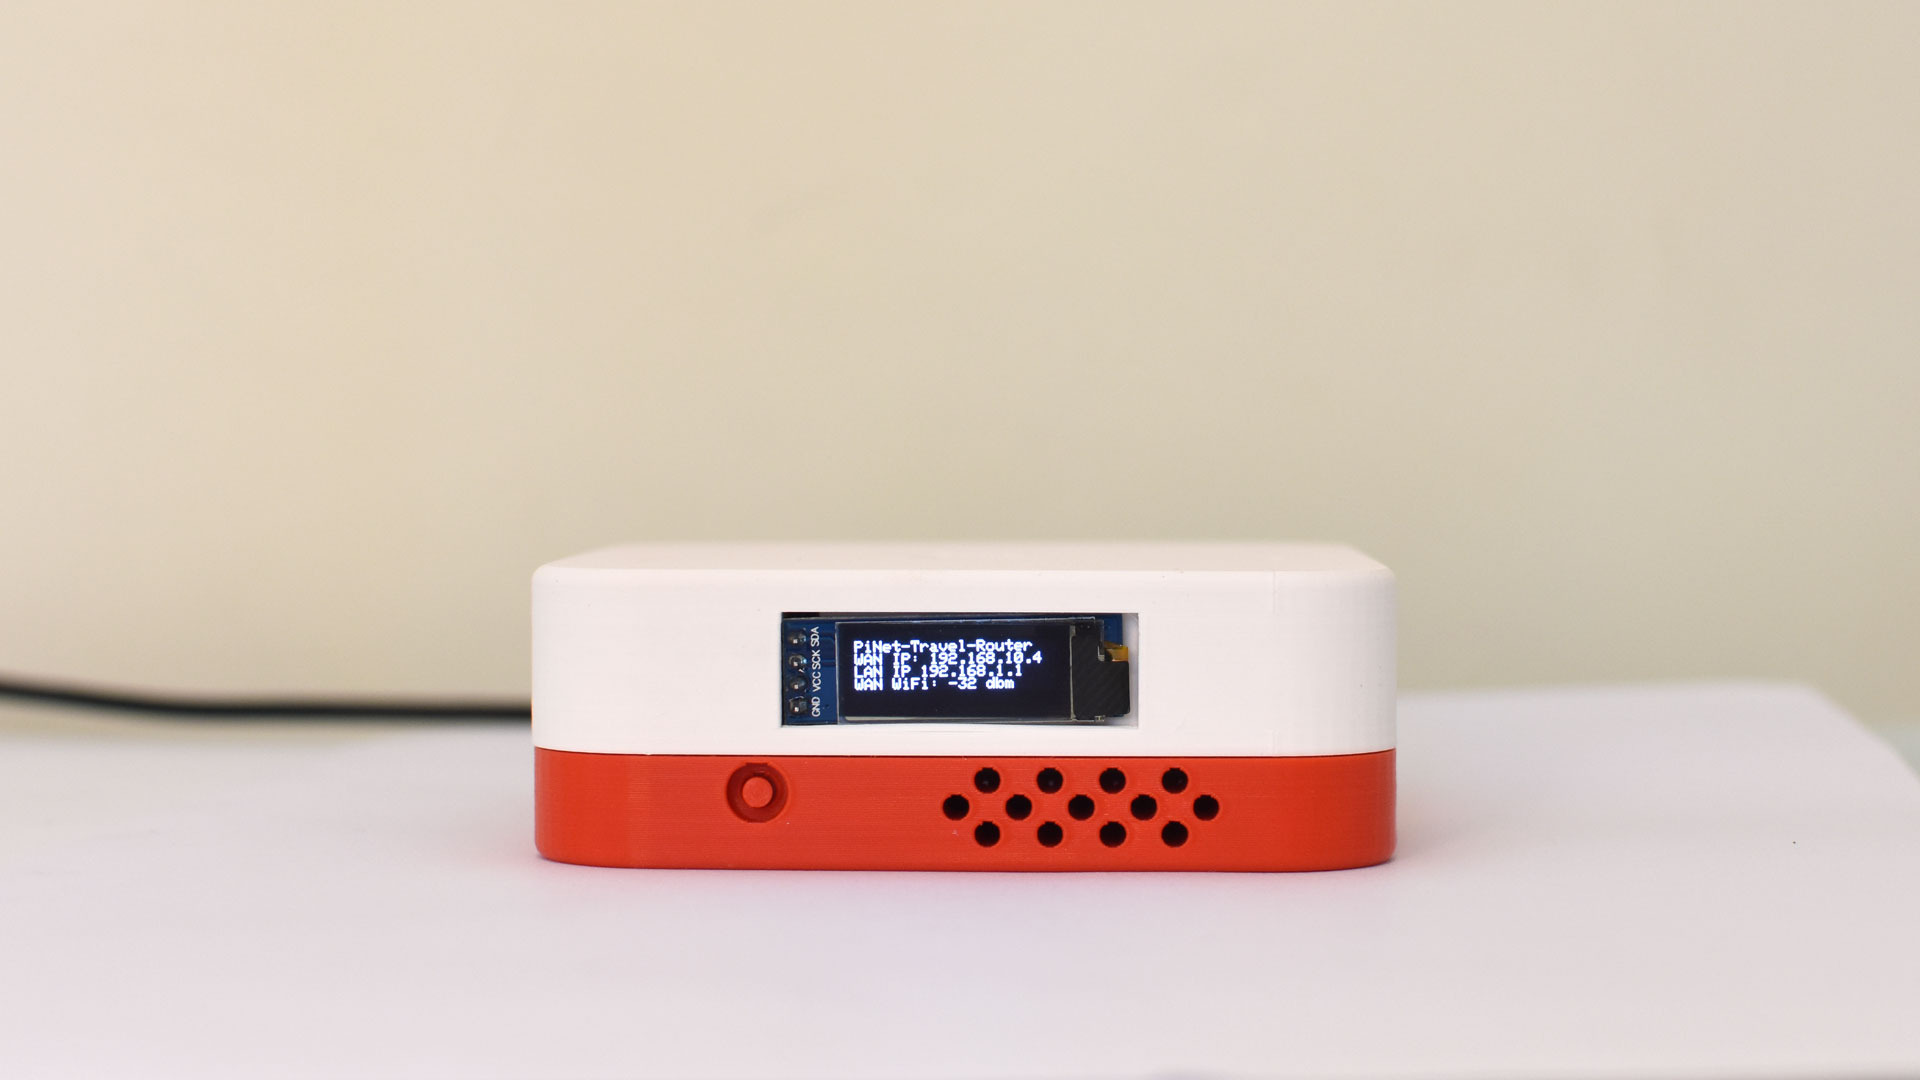
- OpenWrt sends a pipe ( | ) delimited string to the ESP8266 via serial. E.G. “OpenWrt | WAN IP Address | LAN IP Address | WAN WiFi Strength”
- The ESP8266 splits that string into an array of strings based on the delimeter. E.G. [“OpenWrt”, “WAN IP Address”, “LAN IP Address”, “WAN WiFi Strength”].
- When the ESP8266 receives data via serial, it clears the oled display and prints each element of the array onto a new line.
Note: the oled display linked above can only display four lines of text so if you send it 5+ elements, it will only display the first four elements.
Step 1: Router setup
Use your favourite SSH client to connect to the device running OpenWrt. This can be done in terminal or command prompt by running ssh [email protected]
Run opkg update to get a list of available packages and then run opkg install nano to install the nano text editor.
Now we want to enable UART – this step is specific to Raspberry Pi’s so it might be slightly different on other devices.
Open the config.txt file in nano by running nano /boot/config.txt, scroll to the bottom of the file and add enable uart=1 at the bottom as shown below.
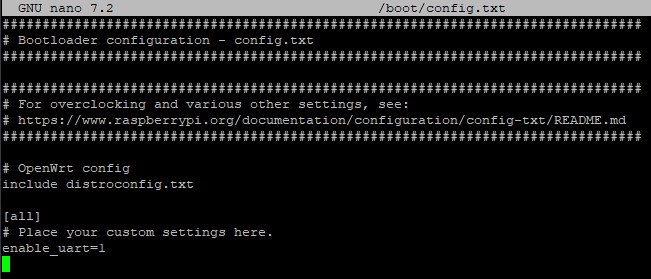
Save and exit.
Now we want to download the script that will collect metrics from OpenWrt and send them to the ESP8266 via serial. I’ve tried to make this script as flexible as possible so it should be pretty easy to change what it displays.
Download the script from my github by running wget https://raw.githubusercontent.com/thatguy-za/openwrt-serial-display/main/router_oled_controller.sh
Run chmod +x router_oled_controller.sh to make the script executable.
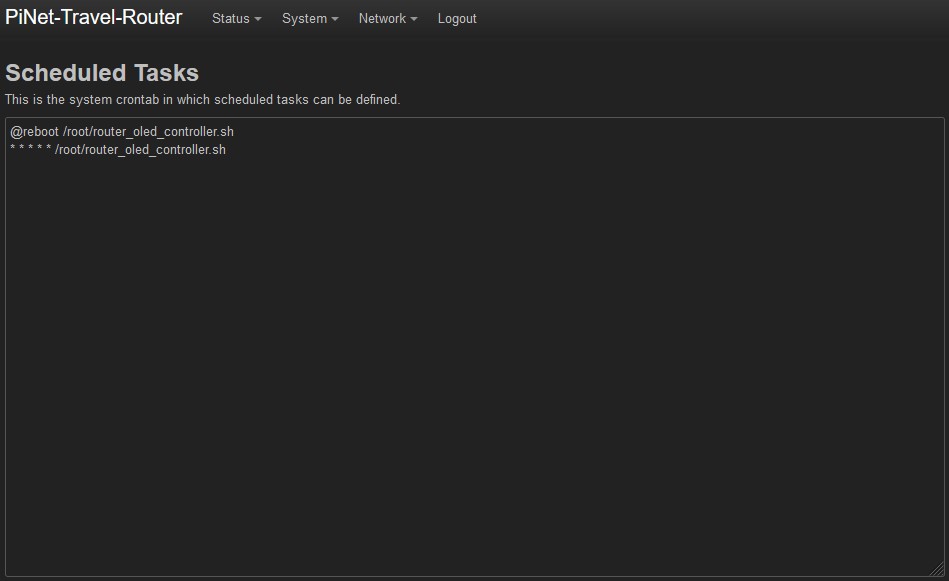
Now that the script is executable, it’s time to make it run on a regular basis. You can choose however often you want, I’m going to use the Scheduled Tasks feature (which is just a wrapper for crontab) to run the script.
To do this, login to the routers web UI, click on the System tab and choose Scheduled Tasks from the drop down.
Add the following lines to the text box. The first line runs the script at startup and the second line runs it every minute.
@reboot /root/router_oled_controller.sh
* * * * * /root/router_oled_controller.sh
That’s it on the router ✅
Step 2: Microcontroller setup and wiring
Head over to my Github repo for this project: thatguy-za/ openwrt-serial-display and download the microcontroller.ino file.
Use the Arduino IDE to compile and flash the code onto the microcontroller that you’re using for the project. I used an ESP8266-01 because it’s small and cheap.
That’s it for the microcontroller so now it’s time for some wiring!
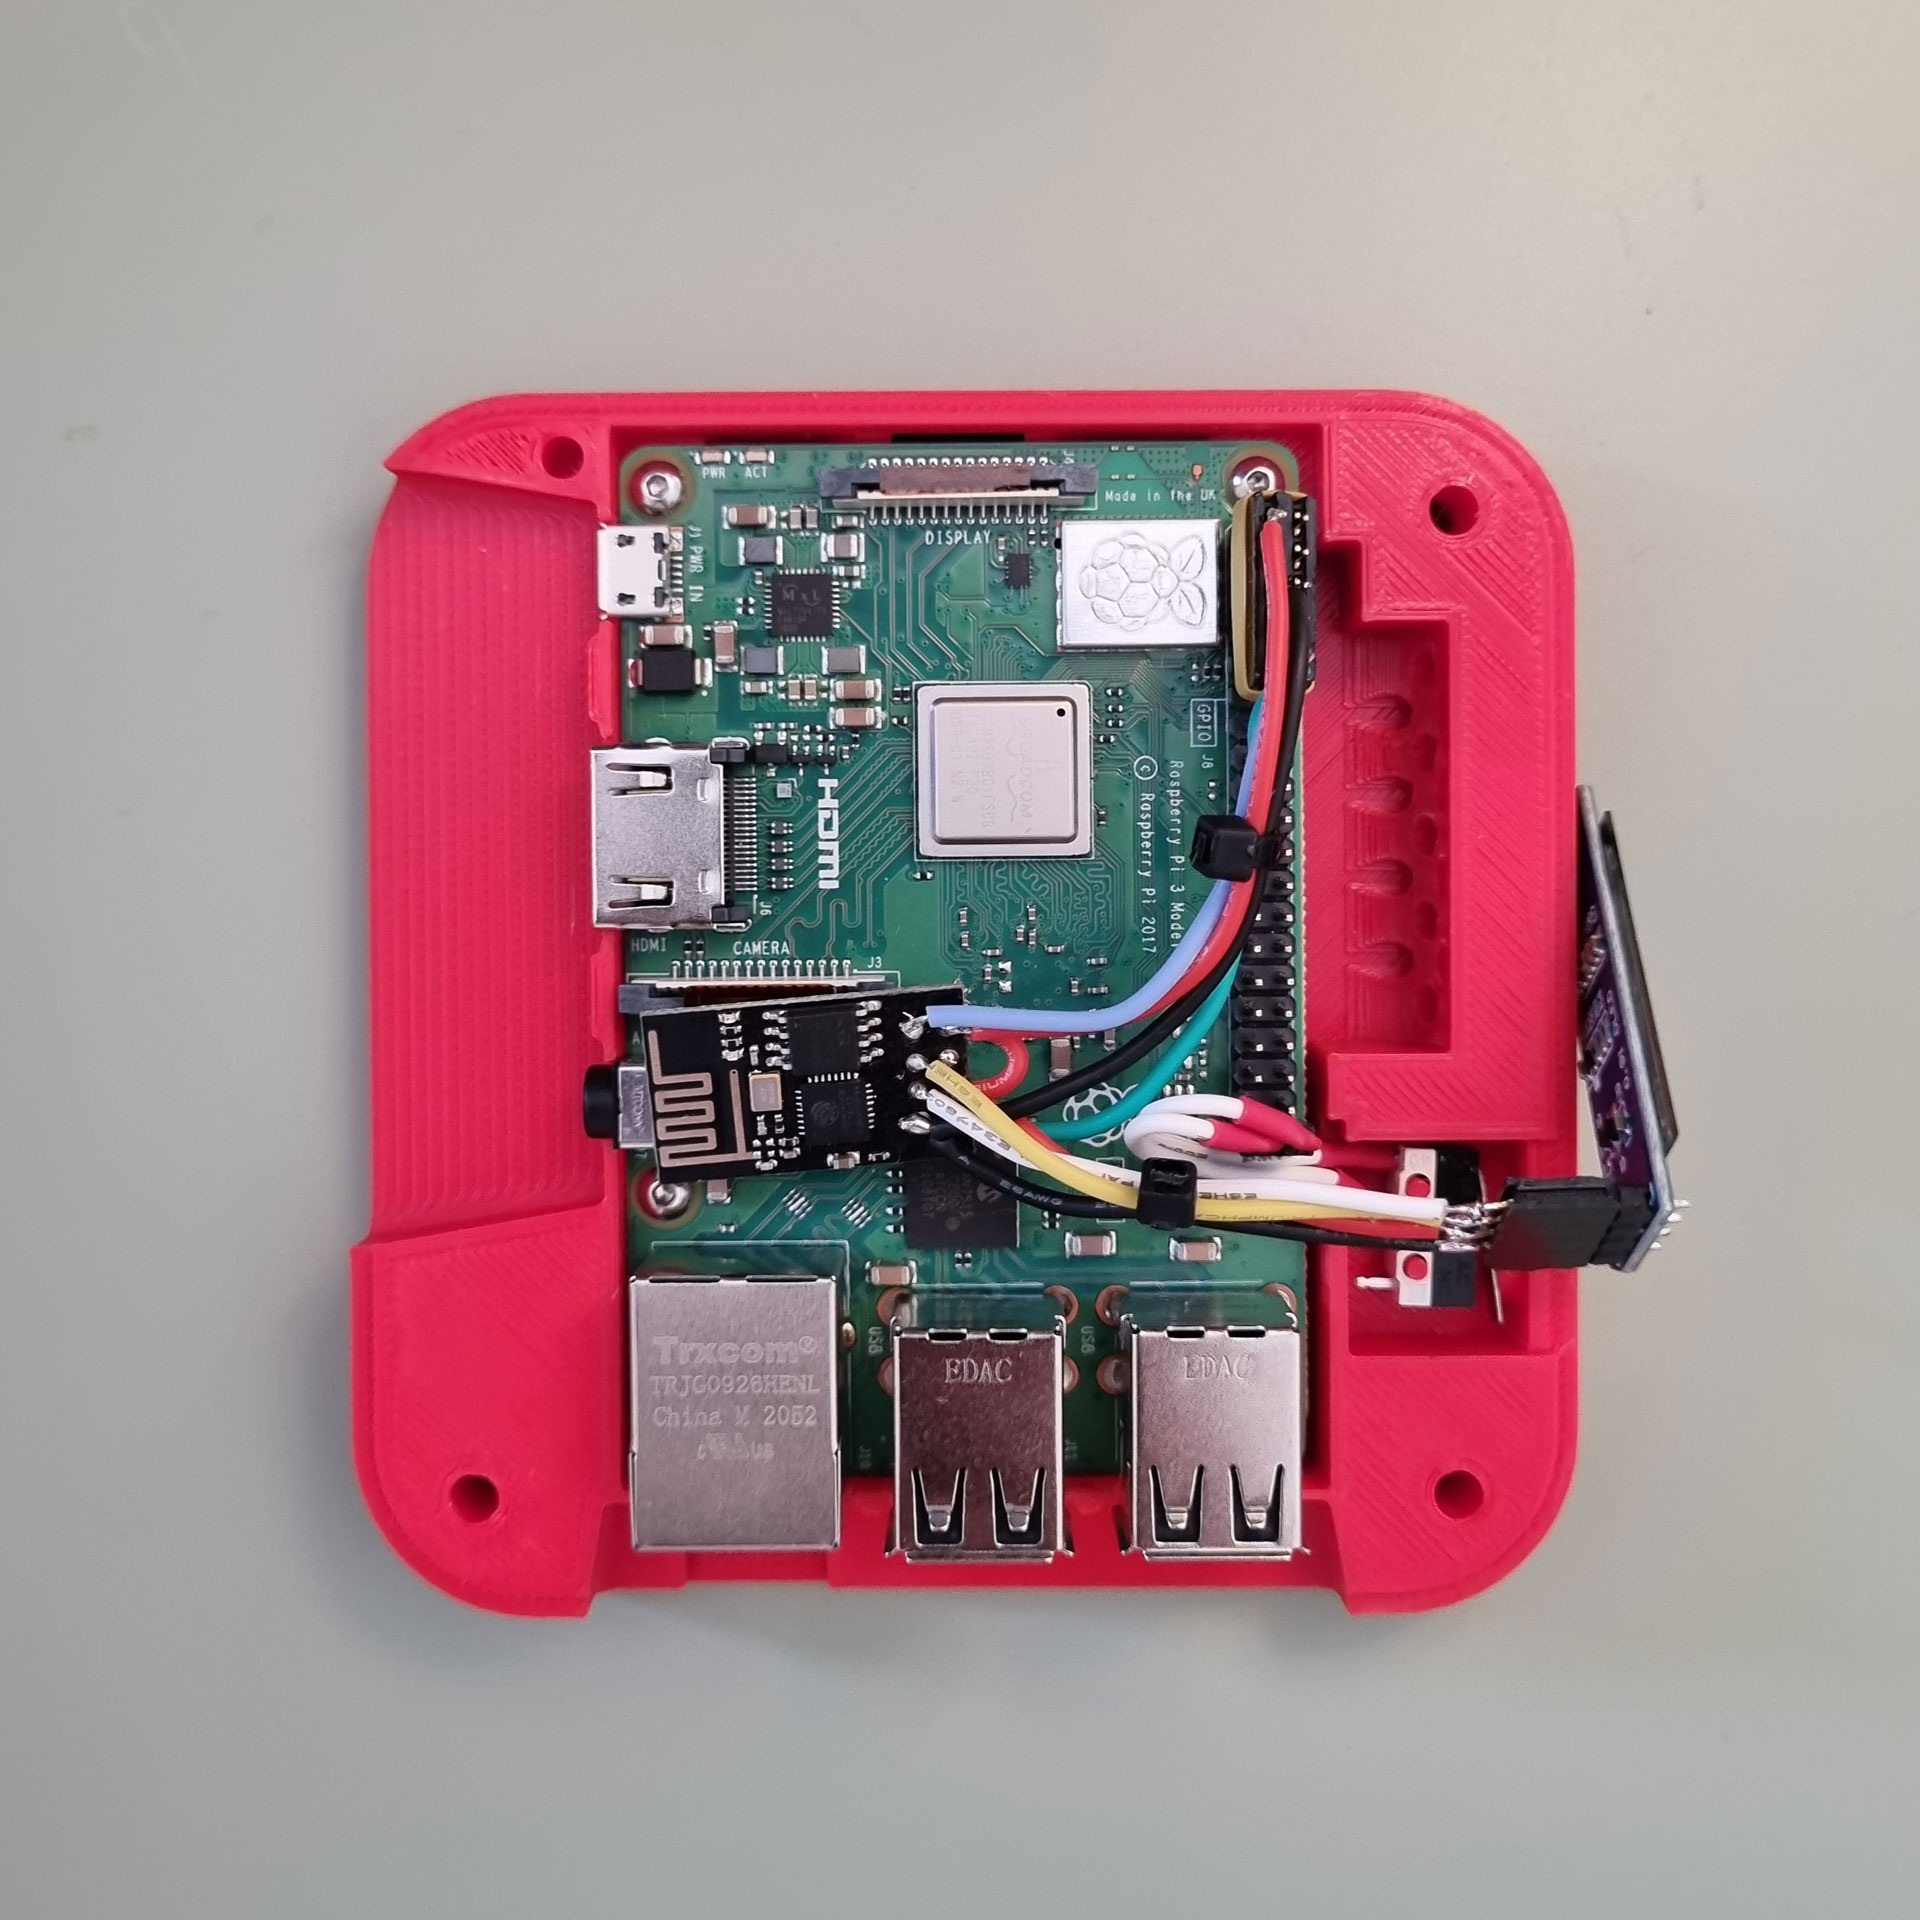
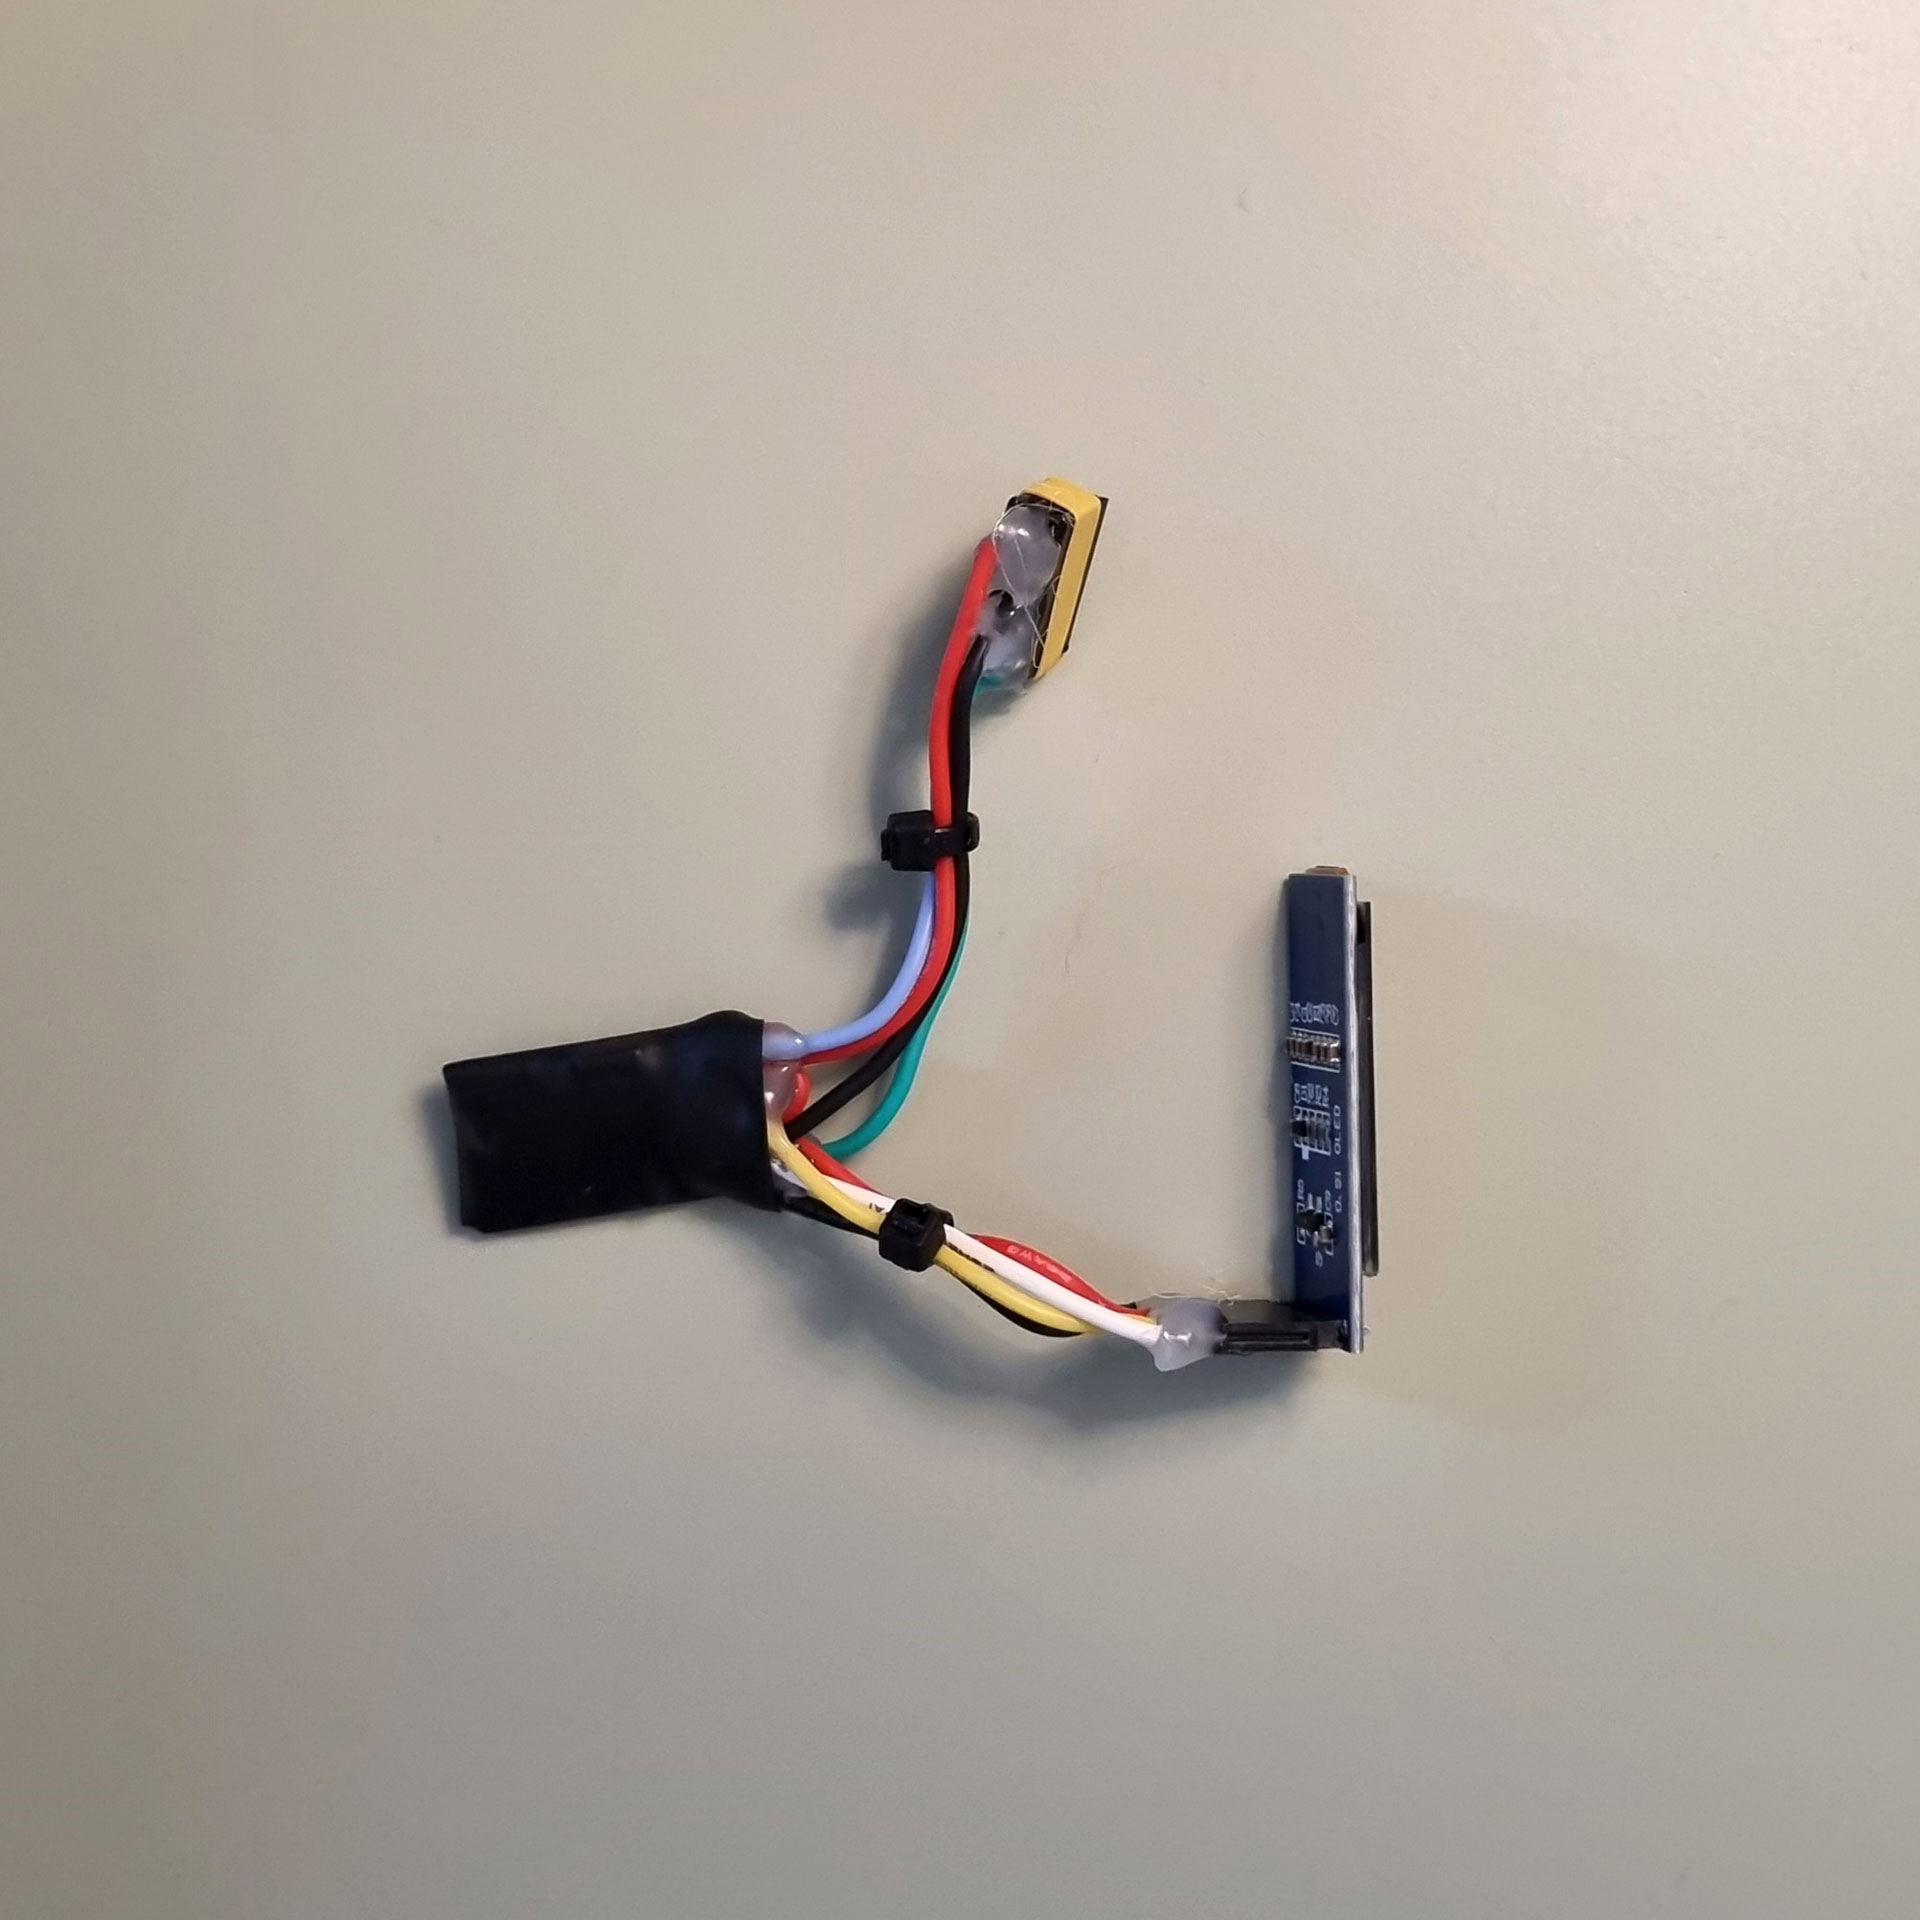
Here’s the wiring diagram that I created for this project. You’ll want to remove the PCB headers from the ESP8266 to reduce the space required.
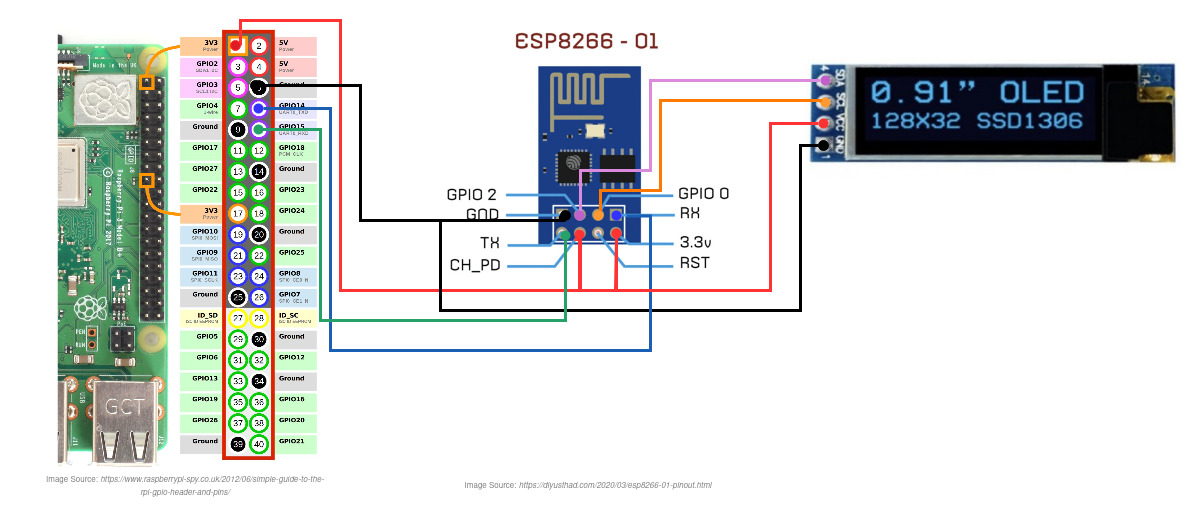
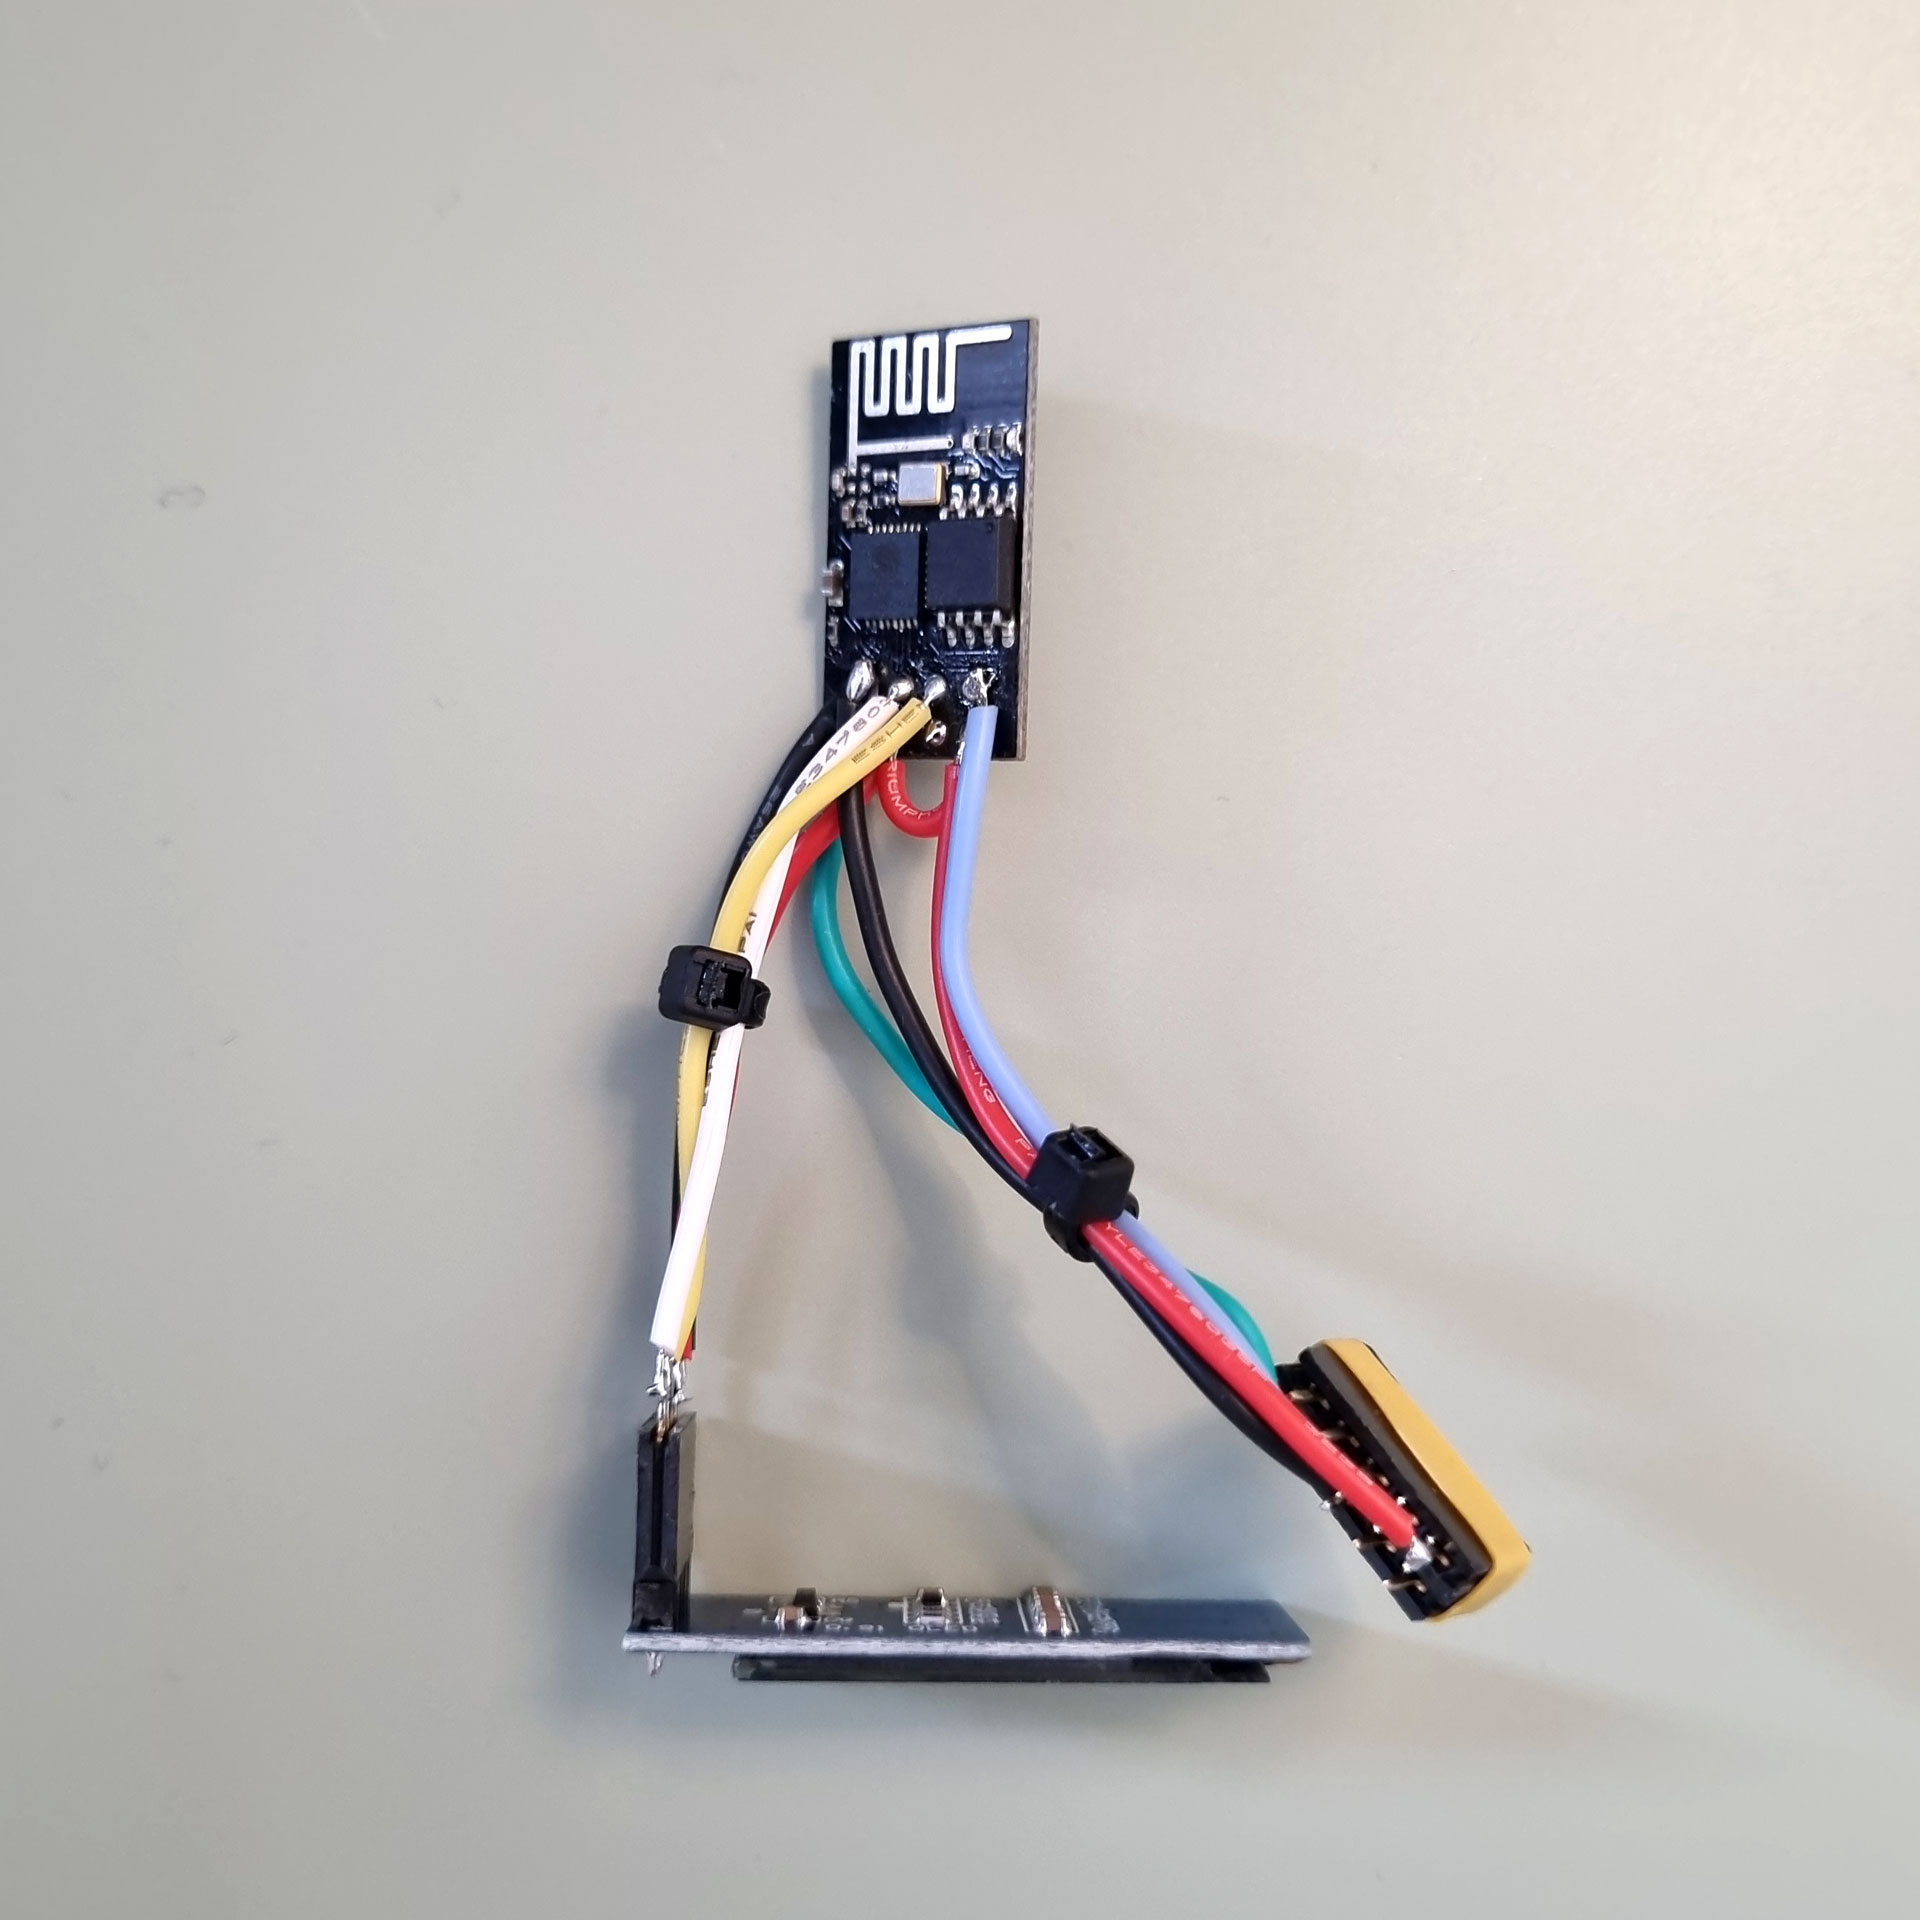
Once you’ve connected the components and confirmed it’s working, it’s probably a good idea to insulate the ESP8266 with some shrink tubing/electrical tape and add some hot glue or shrink tubing to the connections.
And that’s it! Now your router will display whatever stats you want on the oled display.
*The product links in this post may contain affiliate links. I donate 20% of these earnings to the Good Work Foundation to help innovate learning in South Africa’s rural communities.
Thanks for making it to the end of the post!
[…] Update: Wow, this post blew up – thanks to everyone who has been checking it out! I’ve managed to get the oled display to work 🎉 check it out here -> Adding an OLED display to an OpenWrt router. […]