![]()
![]()
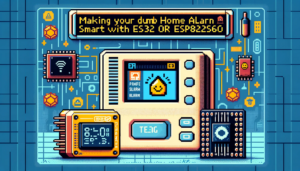
Installing ESPHome on a Sonoff TX Ultimate
Jeff Geerling recently made a great video where he explained how smart home solutions should be additive (i.e. when making a light “smart”, you should add smart functionality to it while you retain the ability to control it from the physical switch) which really made me think about how to smartify(?) our home.
There are tons of good quality and value smart switches but the Sonoff TX ultimate really caught my attention for the features and flexibility that it offers. The most notable feature for us is that it is based on an ESP32 so we can flash ESPHome or Tasmota onto it.
The TX Ultimate has a few quirks though, the biggest one being its human interface. Most smart switches have some sort of button (physical or touch) that pulls a GPIO pin high or low depending on the input but this switch does things slightly differently – the panel at the front of the switch is closer to a touch screen where we have to map finger press coordinates to a zone to trigger a function and use the haptic motor to simulate a button press.
For this article, I’m going to be using a Sonoff Ultimate 2 gang (T5-2C-86) but it is also available in a one, three and four gang variants.
I’d like to say a massive thanks to chris2172 and the work that they did here, this project wouldn’t have been possible without their work.
Right, lets get to it.
Step 1
Since the TX ultimate uses a touch panel, we’re going to need to grab two files from chris2172’s github repository, these files are called touch_panel.cpp and touch_panel.hpp and will allow ESPHome to easily interact with the touch panel.
Once you’ve downloaded the files, use an addon like File Editor in Home Assistant, to upload them into your /homeassistant/esphome/ directory on Home Assistant so we can include them in the esphome yaml configuration.
Step 2
Head over to ESPHome and click the + new device. You’ll want to create a device that is based on an ESP32.
Step 3
Head over to my gthub repo for this project and copy the content of the esphome.yaml file.
Click edit on the device that you have just created in ESPHome and paste the contents from my esphome.yaml. You will want to keep the contents of the following sections from your origional configuration that ESPHome generated:
– esphome
– api
– ota
Step 4
Connect a USB-FTDI adapter to the switch as shown below. The switch has 8 pins arranged in a 4 x 2 grid that connects the front switch module to the power supply/relays in the wall – the bottom left pin is ground so you should connect this to the boot pad while powering on the switch module to force the ESP32 into flashing mode.
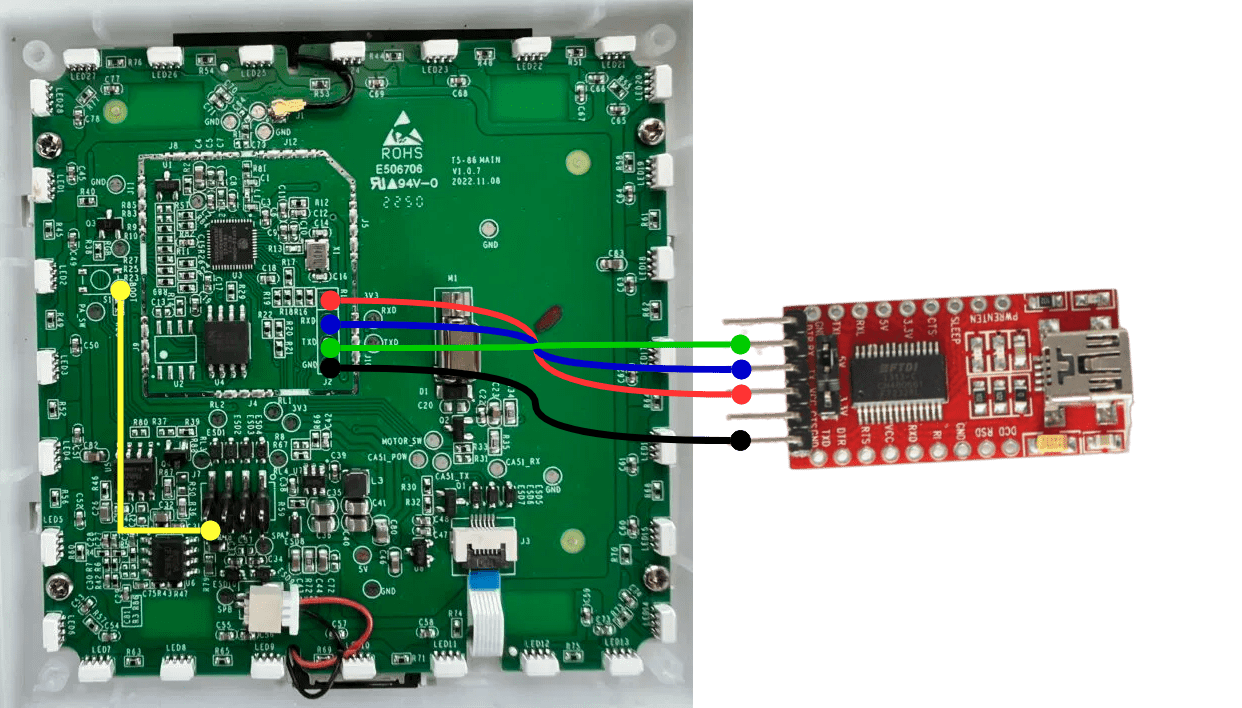
Sonoff PCB image credit to CNX software.
Step 4
Using your tool of choice, flash the ESPHome firmware onto the ESP32. Once this is done, you can connect AC power to it and configure it in Home Assistant!
*The product links in this post may contain affiliate links. Any commission earned is used to keep the servers running and the gin cool.
Thanks for making it to the end of the post!