1u Raspberry Pi enclosure with space for 2 x 2.5′ drives
This case is a continuation of my original design of a 1u enclosure for a Raspberry Pi 3/3B+/4 and a 2.5′ HDD or SSD. Have a look at that post for more info about stacking and rack mounting the enclosure.
Parts
- Raspberry Pi 3B/3B+/4B
- POE HAT – this is required because there is no other way to get power to the Pi
- 2.5′ SSD/HDD with USB to SATA adapter (Amazon – US, UK, DE) – I used a generic adapter in the photos which caused a ton of issues. The StarTech adapter has an ASMedia ASM1153E chipset which seems to be much more reliable with the Pi.
- Micro SD Flexible Extension Cable (Aliexpress)
- DS18B20 Temperature Sensor (Amazon – US, DE)
- Have a look at my toolbox essentials for links to the other items used in this project.
You can find the .stl’s on Printables here.
Print settings
- Printer: Creality Ender 3v2 Neo
- Filament: I used Red Creality PLA filament but I’d recommend eSUN PLA+ instead (Amazon – US, DE)
- Bed temperature: 60’c (initial layer) then 50’c for the rest of the print
- Nozzle temperature: 205’c
- Infill: 20%
Build/installation guide
Step 1 – Use a soldering iron to insert the brass insert nuts. I used M2.5 screws to hold the lid on and M3 on the sides.
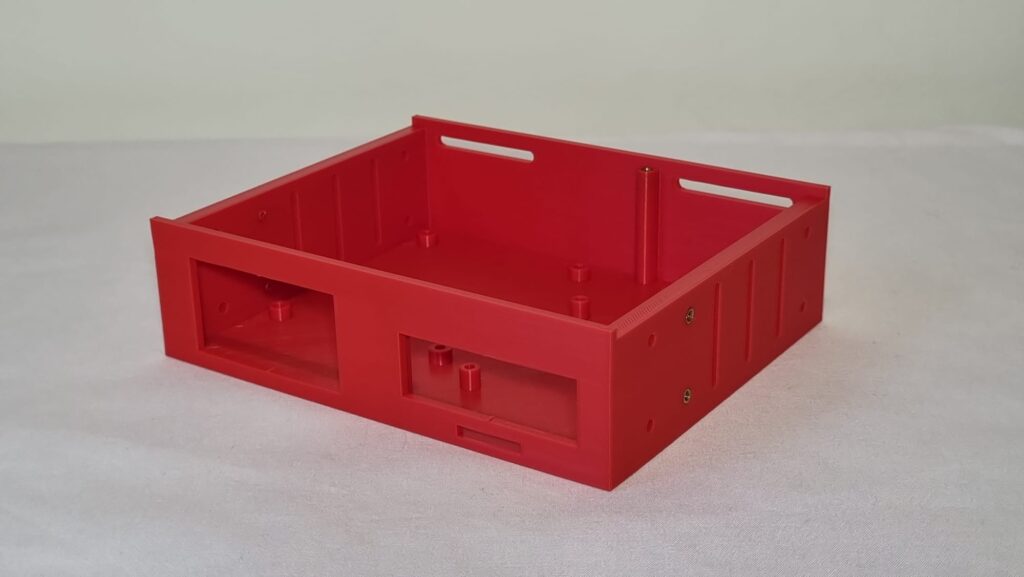
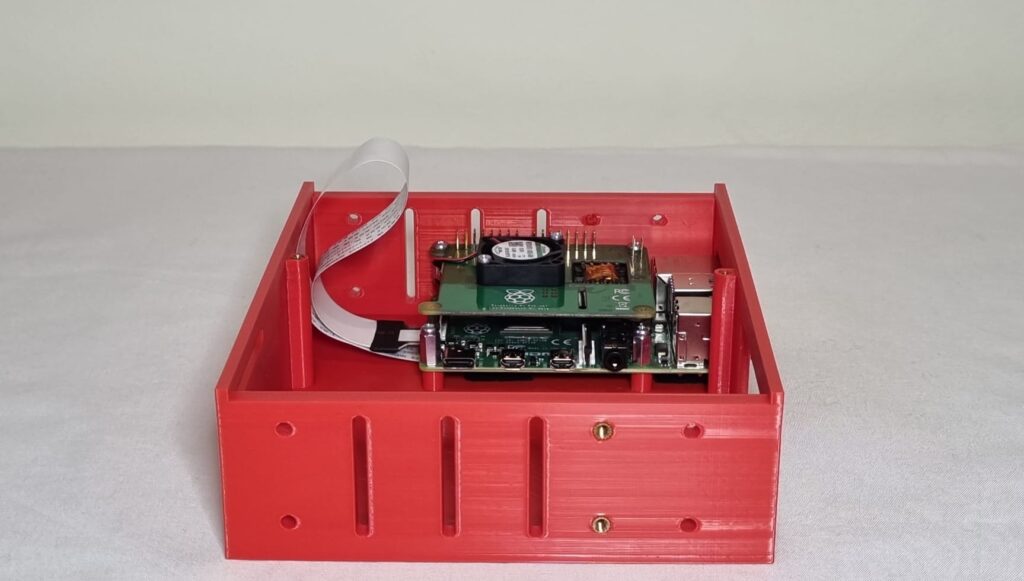
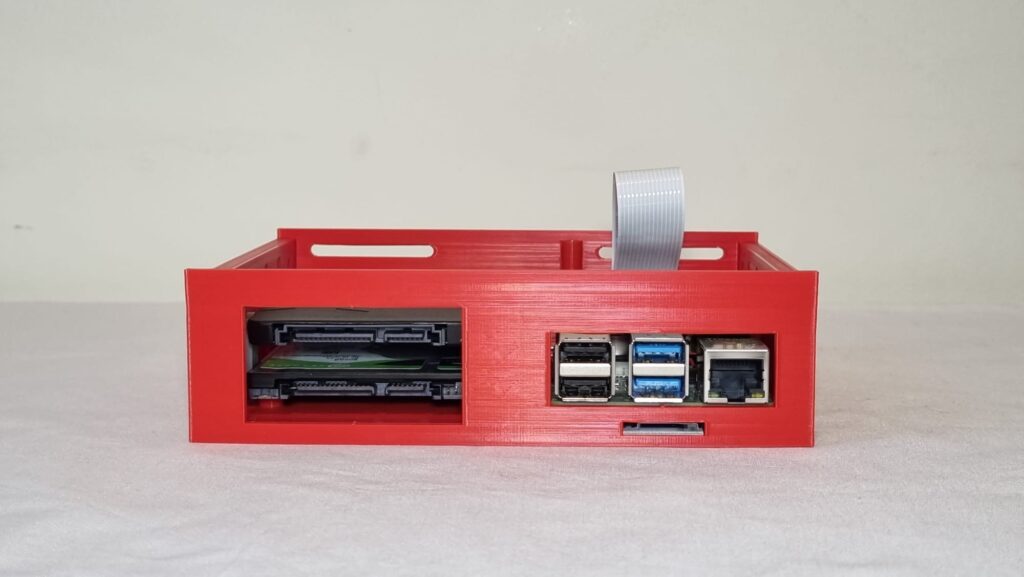
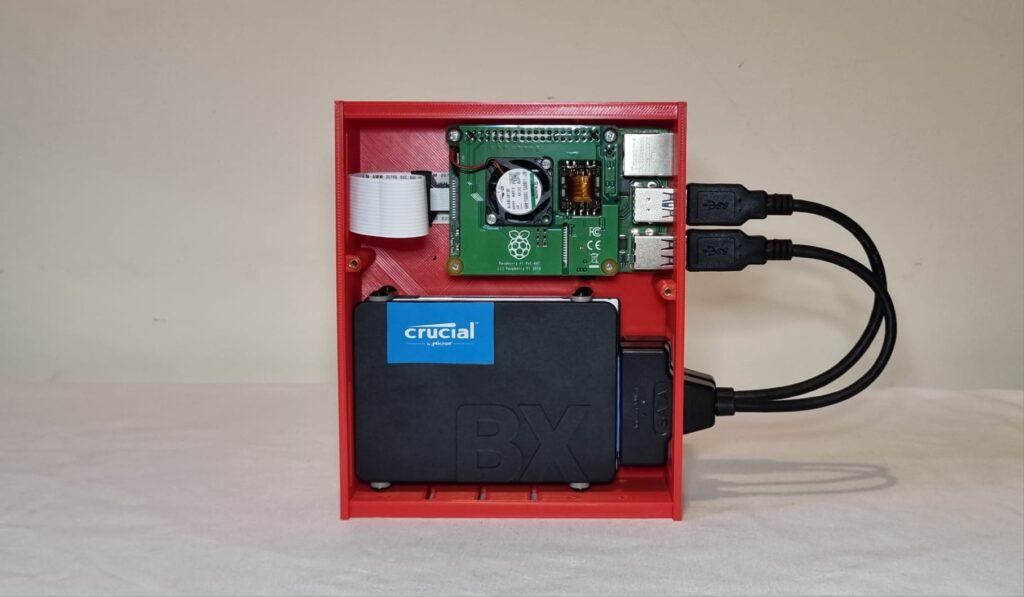
Step 2 – Cut off the vertical supports in the Pi and SSD/HDD openings and install Raspberry Pi and POE HAT.
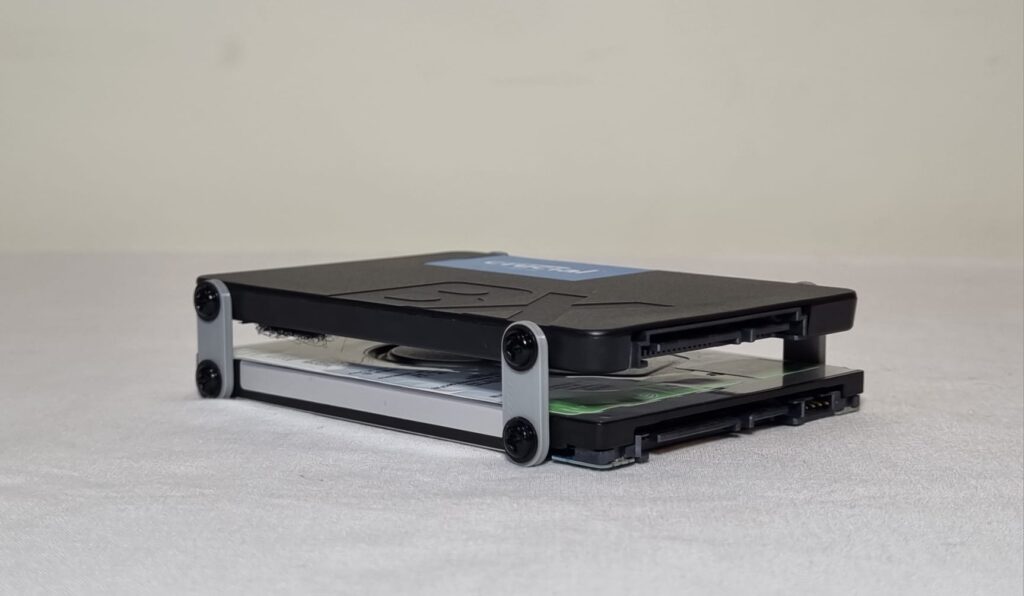
Step 3 – Stack the two SSD’s/HDD’s using the 14mm spacers and 8 x 5mm M3 screws.
Step 4 – Install the drives into the enclosure using 8mm M3 screws and attach the USB to SATA adapters.
Step 5 – Screw on the lid using 5mm M2.5 screws and you’re done!
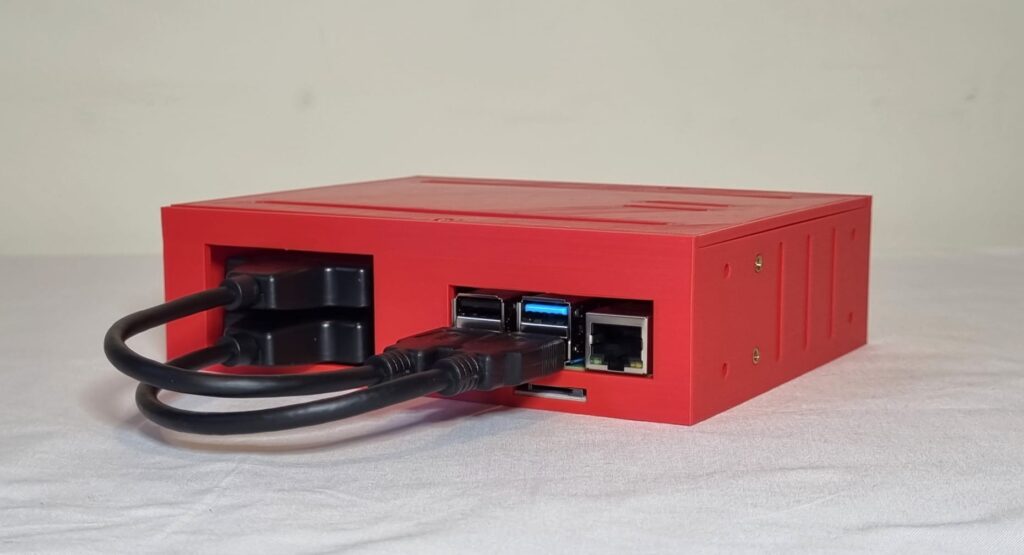
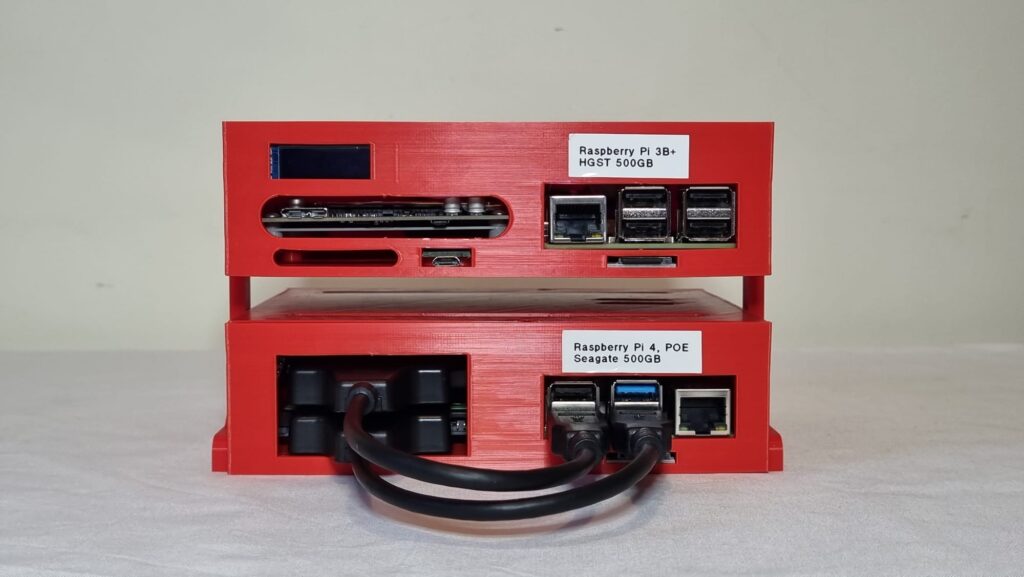
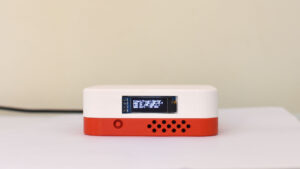
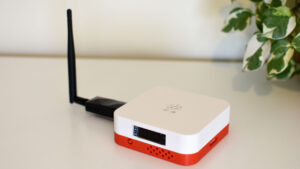
Last but not least, here is this case stacked with the original design that accommodates 1 x 2.5’d drive and a 0.91′ OLED display..
Watch this being printed
*The product links in this post may contain affiliate links. I donate 20% of these earnings to the Good Work Foundation to help innovate learning in South Africa’s rural communities.
Thanks for making it to the end of the post!
No access for the power cord.