![]()
![]()
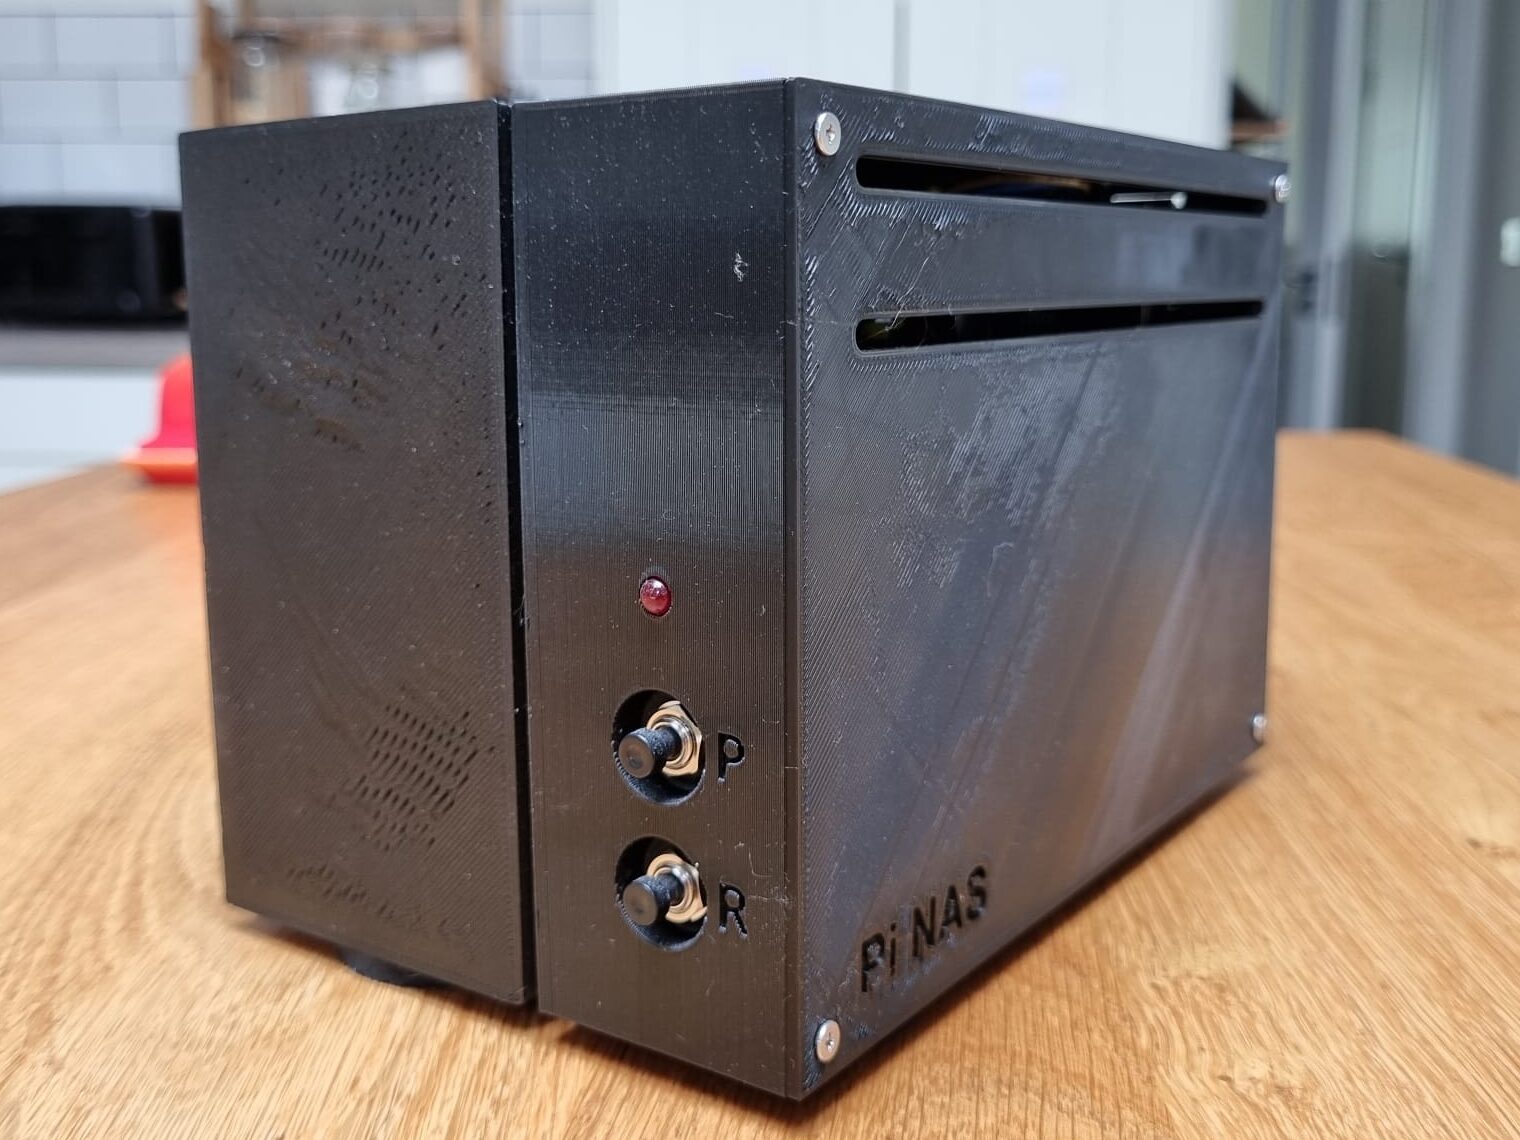
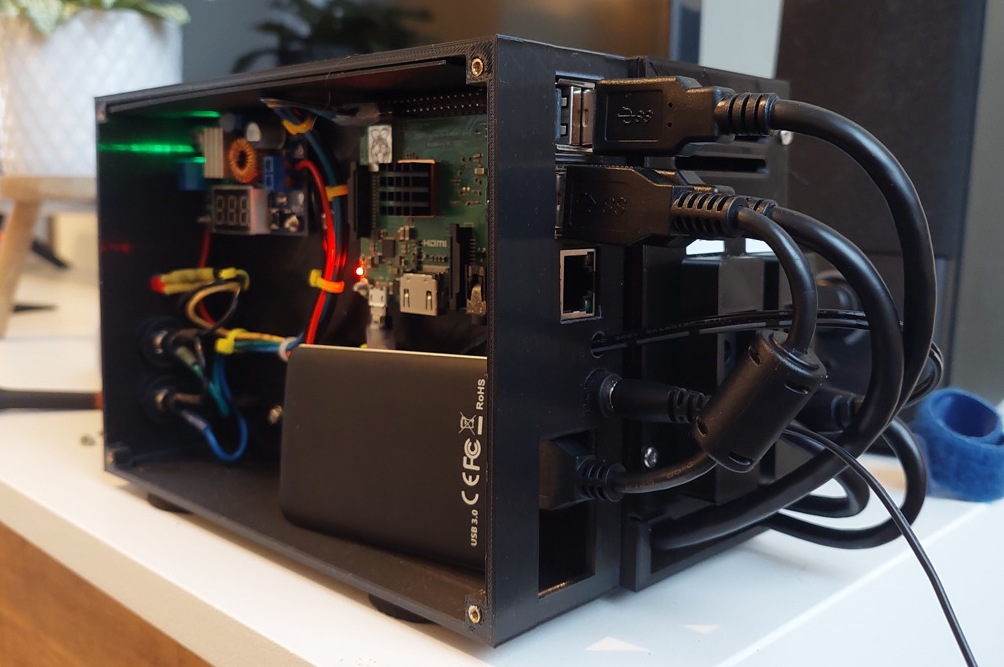
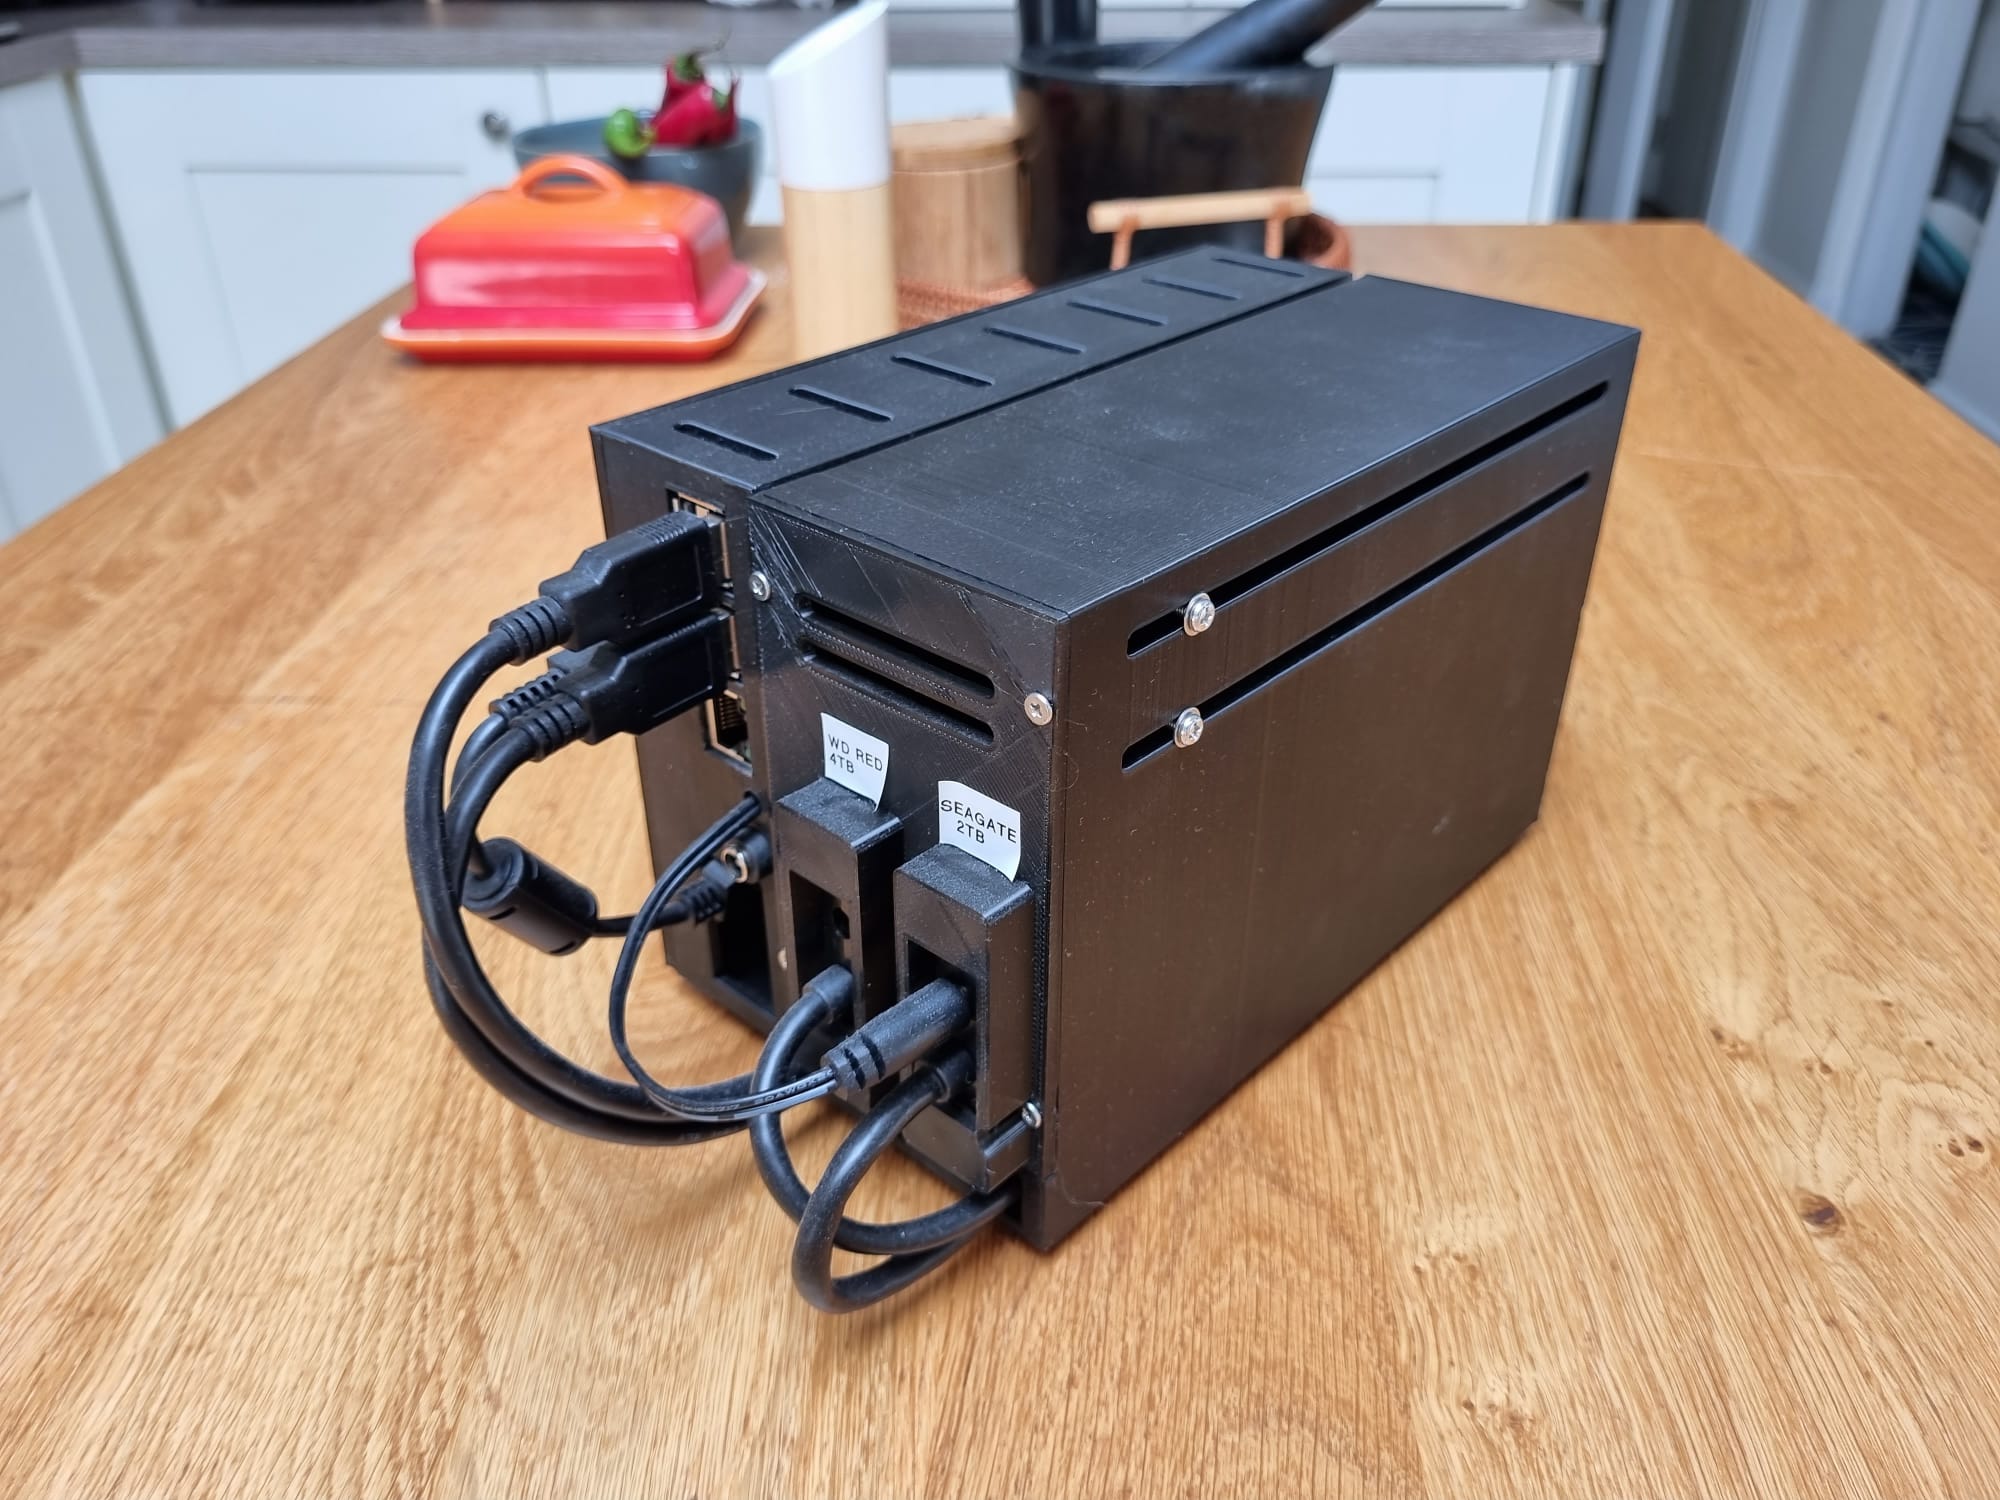
Pi NAS (Raspberry pi 3 B+ with 2 x 3.5′ HDD’s)
I designed this Raspberry Pi NAS to connect two 3.5′ HDD’s to a Pi 3B+. There is a DC buck converter for the Pi so you don’t need to have a separate 5v power supply.
With the current design, you will need to drill three holes into the Pi case to screw it to the HDD enclosure. I’ll update the design in due course.
I’ve tried a few different operating systems on the Pi and have settled for Raspberry Pi OS 64 bit but something like OpenMediaVault would work very well too.
Links
- Python script to shutdown and reboot the Pi: thatguy-za/raspberrypi_controller
- 3D Designs/.stl files: Printables
Parts list:
- Raspberry Pi 3B+
- 2 x 3.5′ HDD’s
- 2 x USB to SATA adapters – look for adapters that have ASMedia chipsets and avoid JMircon.
- 2 x 12v 1.5A/2A power supplies
- DC Buck converter (Amazon – US, UK, DE)
- DC pigtail (Amazon – US, UK, DE)
- Micro USB cable to connect DC buck converter to Pi
- M2.5 and M3 brass inserts (Amazon – US, DE)
- M2.5 and M3 screws and nuts (Amazon – US, DE)
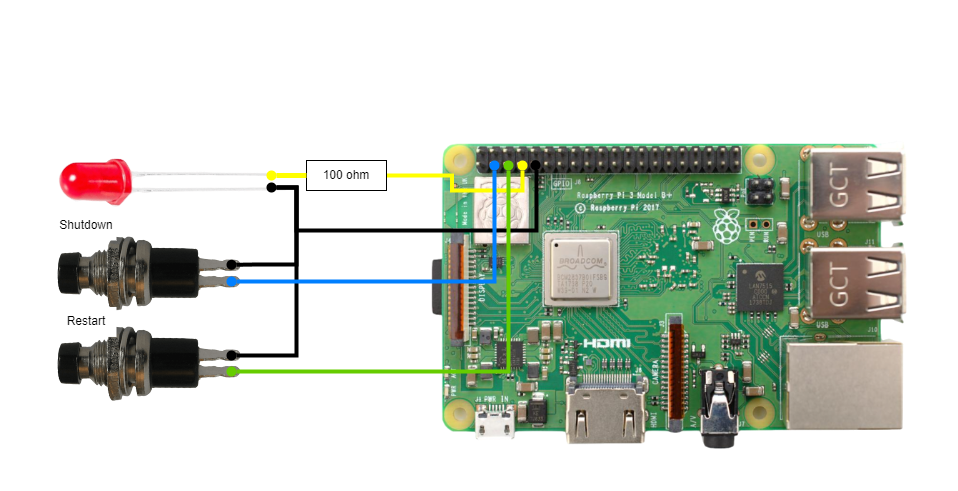
- DC push buttons to shutdown/restart the Pi (Amazon – US, UK, DE)
- One red LED to indicate when a button has been pressed
- PCB Headers (Amazon – US, UK, DE)
- Silicone wire (Amazon – US, UK, DE)
Assembly
Step 1 – Print the case components
Step 2 – Mount the buck converter, Raspberry Pi, power/reset buttons and LED into the case. The head of the screws for the Pi and buck converter should be on the outside of the enclosure.
Step 3 – Following the wiring diagram below, solder cables to the indicator LED and buttons on one end and a female PCB header on the other end so you can easily connect & disconnect them from the Pi.
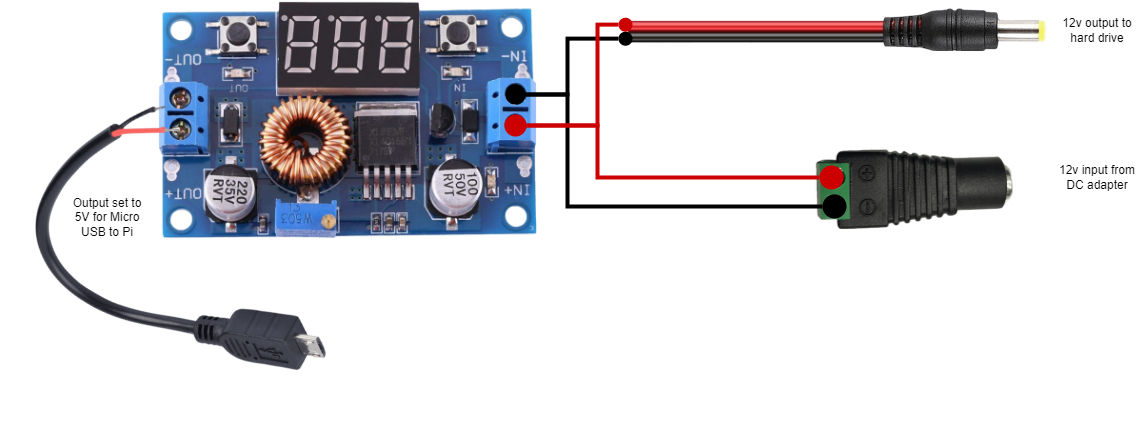
Step 4 – Follow the wiring diagram below to connect input of the buck converter to your DC adapter so it can supply 5v to the Raspberry Pi. By passing through the 12v to one of your hard drives, we reduce the number of wall wart power supplies that this project will need. Make sure you check the output voltage and polarity before you connect it to the raspberry pi.
Step 5 – While your soldering Iron is still hot, insert three M3 brass inserts into the three holes on the outside of the hard drive enclosure and screw through the Raspberry Pi enclosure to join the two enclosures together. Once this is done, you can attach the side panel to the Raspberry Pi enclosure.
Step 6 – Insert two more M3 brass inserts into the hard drive retention bracket before inserting your hard drives into the hard drive enclosure.
Step 7 – final assembly. Screw through the two ventilation slots into the hard drive retention bracket to secure the hard drives in place. Now you can attach the back hard drive cover and connect your hard drives.
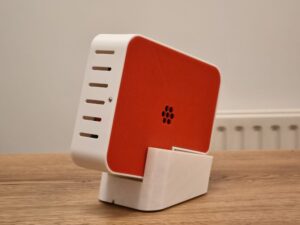
Here are some pictures of the final device.

*The product links in this post may contain affiliate links. Any commission earned is used to keep the servers running and the gin cool.
Thanks for making it to the end of the post!


Any chance of a wiring diagram or assembly instructions? Would really like/need to build this – but my novice self needs something more than pics, please!
tia!
PS: There are no form fields marked with *
Hey Mike! I’ve just created some wiring diagrams and added more detail to the build guide. This enclosure has been running at my brothers house since I wrote this article so I feel a bit rusty. Good luck building this!
P.S. You must have been logged in to wordpress because guests are asked to leave their name and email address.