![]()
![]()
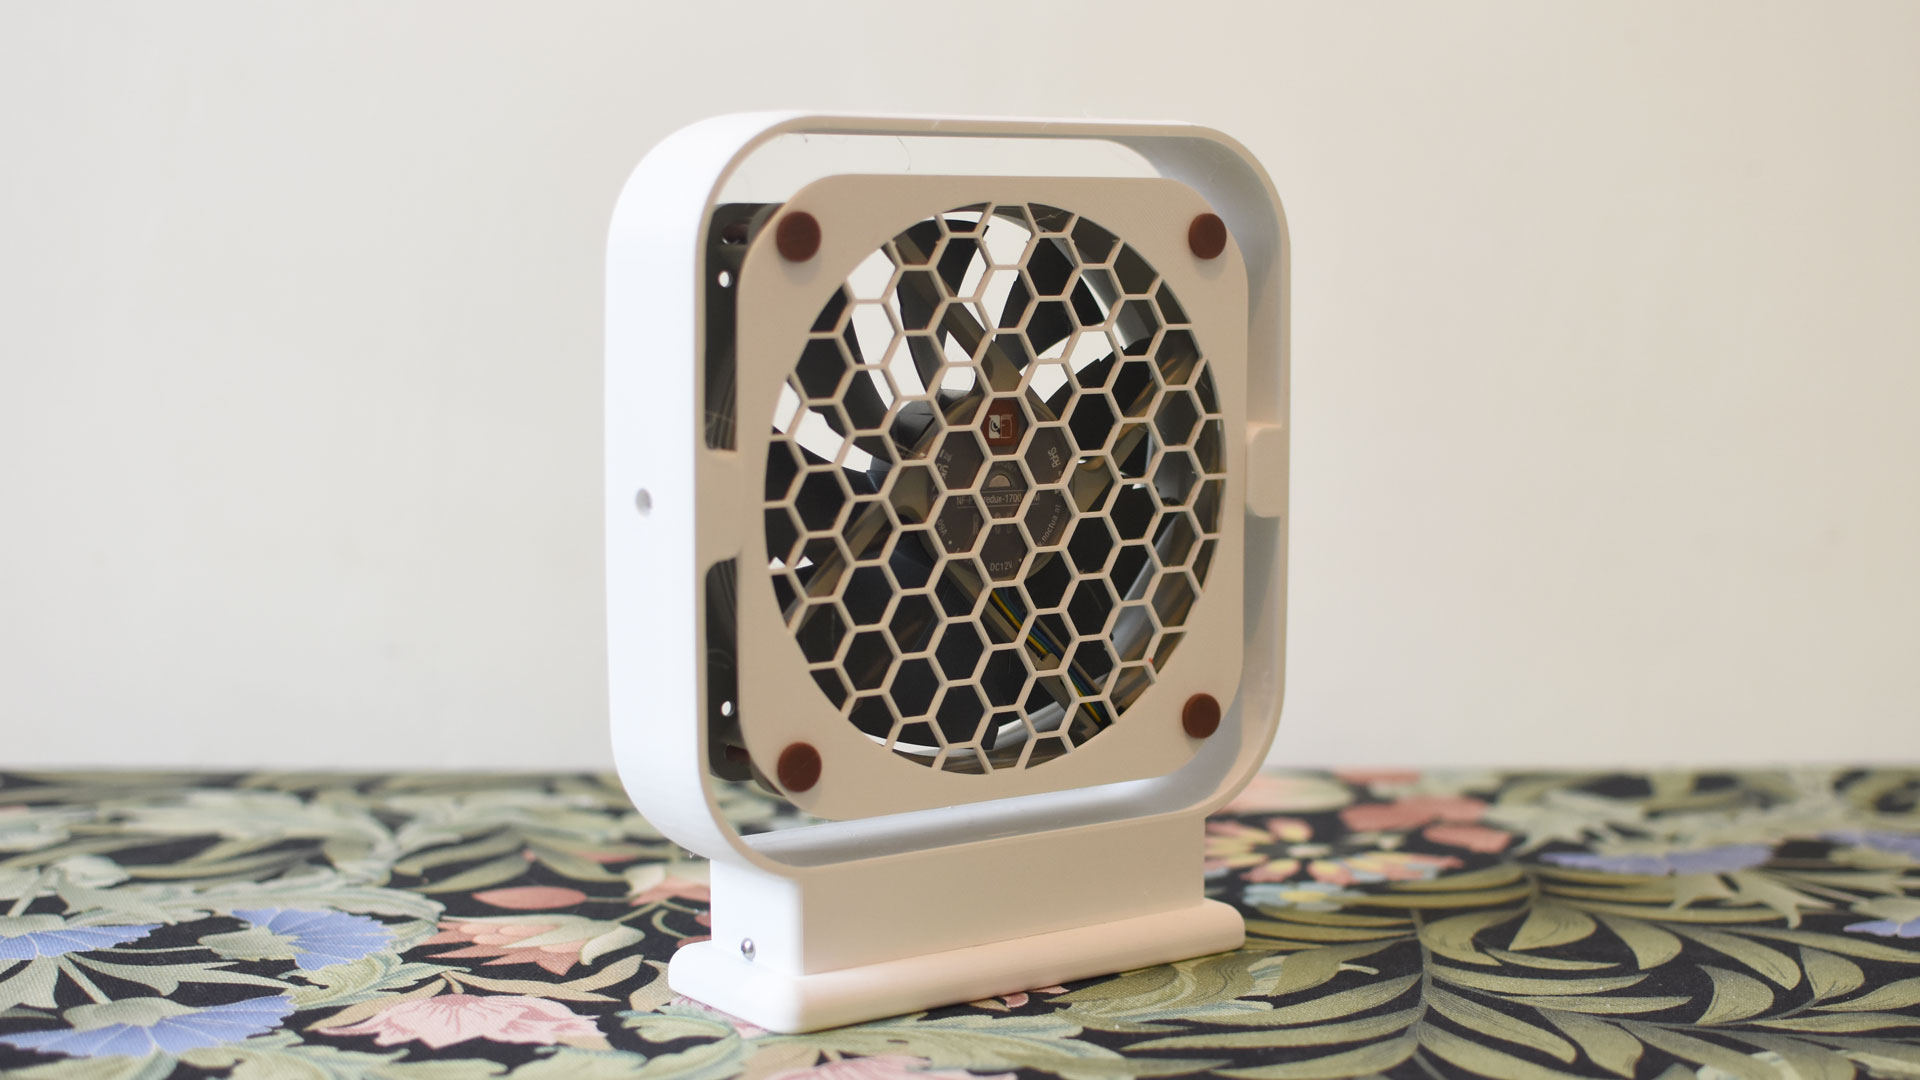
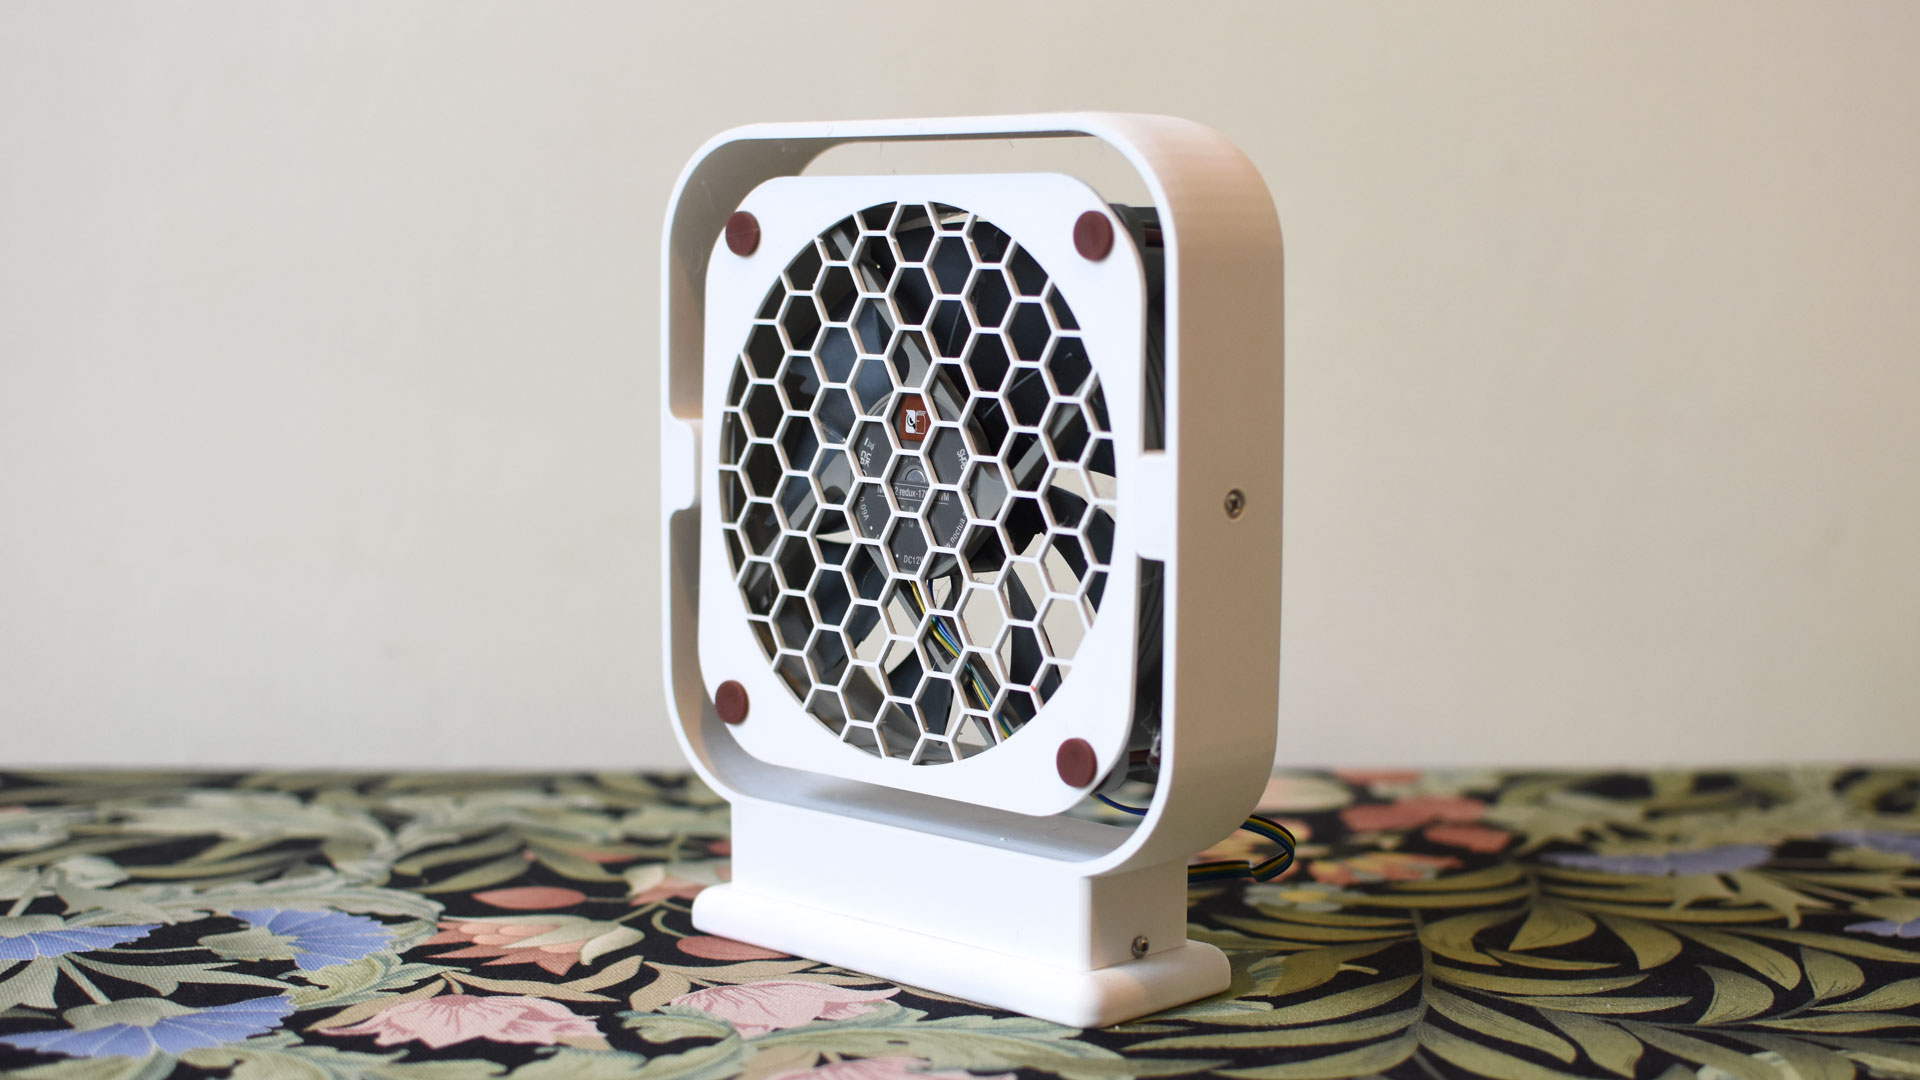
Home Assistant compatible desk fan (120mm)
Frustrated by the lack of fans that integrate with Home Assistant, I decided to modify this 120mm fan stand to include a compartment for a Wemos D1 mini and a buck converter. This allows us to run ESPHome on a Wemos D1 mini which outputs a 25khz PWM signal to control the speed of an off the shelf 120mm computer fan. The whole setup is powered from a single micro USB port and with this fan, draws a max of 0.3A at 5v so it’ll run off a power bank for hours.
Please note that this requires a 4 pin 12v computer fan and won’t work with a 3 pin fan. Three pin computer fans have a PWM output so you can measure the fan’s RPM and rely on varying input voltage to adjust the fan’s speed while 4 pin fans have the same PWN output but include a PWM input which we are using to adjust the speed of the fan.
Github repo for this project: thatguy-za/esphome-fan
You can find the .stl’s on Printables here.
Parts list:
- Wemos D1 mini (Amazon – US, DE)
- Noctua NF-P12 redux-1700 PWM (Amazon – US, DE)
- Noctua Anti-Vibration Mounts (Amazon – US)
- DC Boost/Step up converter (Amazon – US, DE)
- Micro USB breakout board (Amazon – US)
- Tristam’s toolbox essentials
Build/installation guide
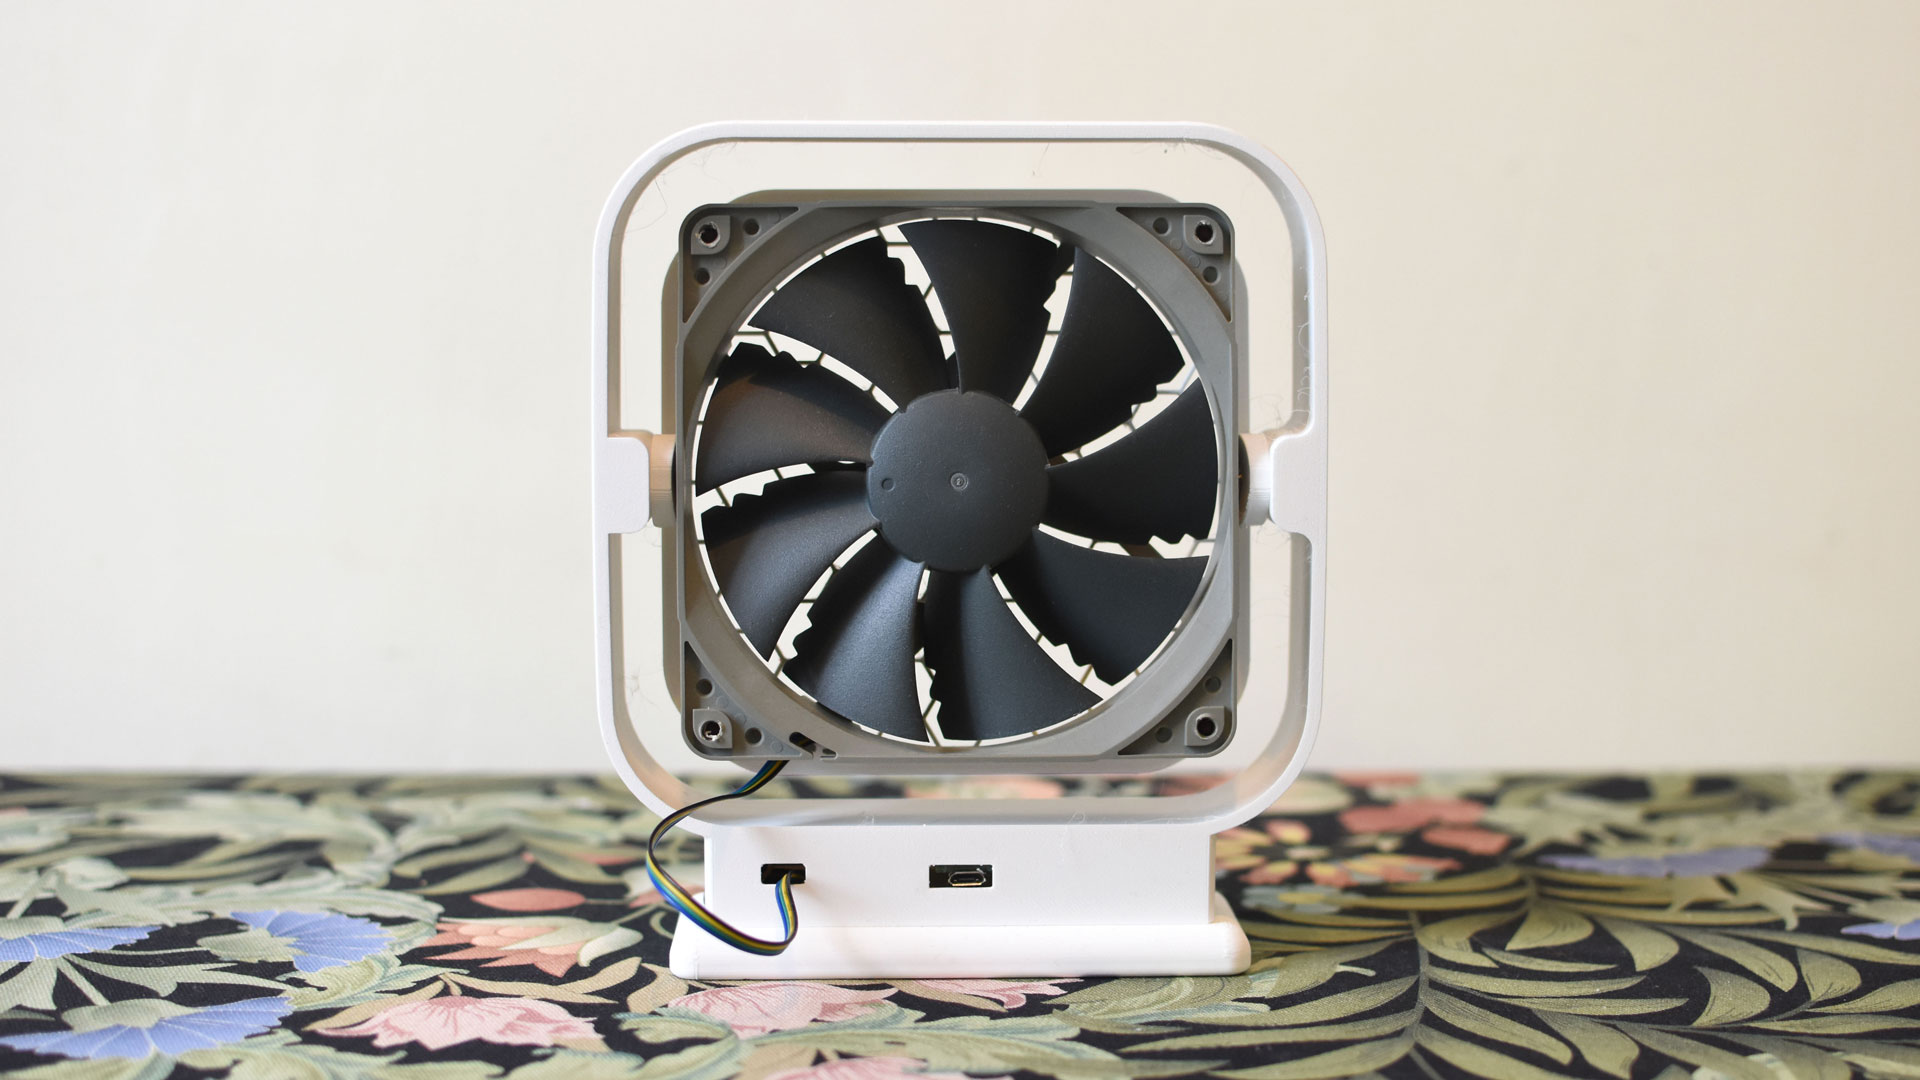
Step 1 – Use a soldering iron to insert the M2.5 brass insert nuts into the base of the fan. These will be used to secure the micro USB port to the base.
Step 2 – Head over to Home Assistant and add the device to ESPHome using the example configuration I shared above and flash this onto the Wemos D1 mini. There are lots of ways to do this and tons of tutorials online.
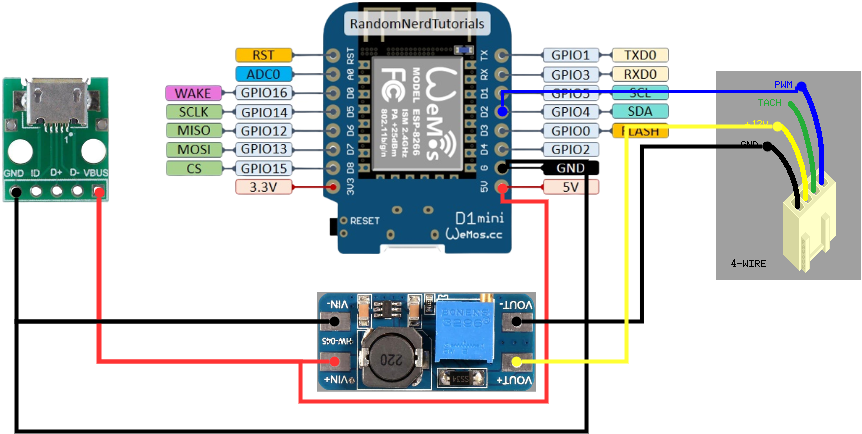
Step 3 – Connect the various components as shown in this wiring diagram. Adjust the boost converter to step the voltage up from 5v to 12v. Leave a fair amount of slack on the fan’s cable so the fan can pivot up and down once installed.
Step 4 – Install the components into the fan’s stand. I used silicone vibration dampers from Noctua to reduce the vibration noise.
That’s it! Enjoy your new fan.
*The product links in this post may contain affiliate links. I donate 20% of these earnings to the Good Work Foundation to help innovate learning in South Africa’s rural communities.
Thanks for making it to the end of the post!